Join Len’s newsletter for stories from the studio, creative insights, and behind-the-scenes looks at new artworks, workshops and upcoming projects. Be the first to hear about exhibitions, special offers, and opportunities to create with Len. Delivered straight to your inbox — thoughtful, inspiring, and never spammy.
bespoke tours, workshops & private mentoring
new offerings for 2027 and beyond…
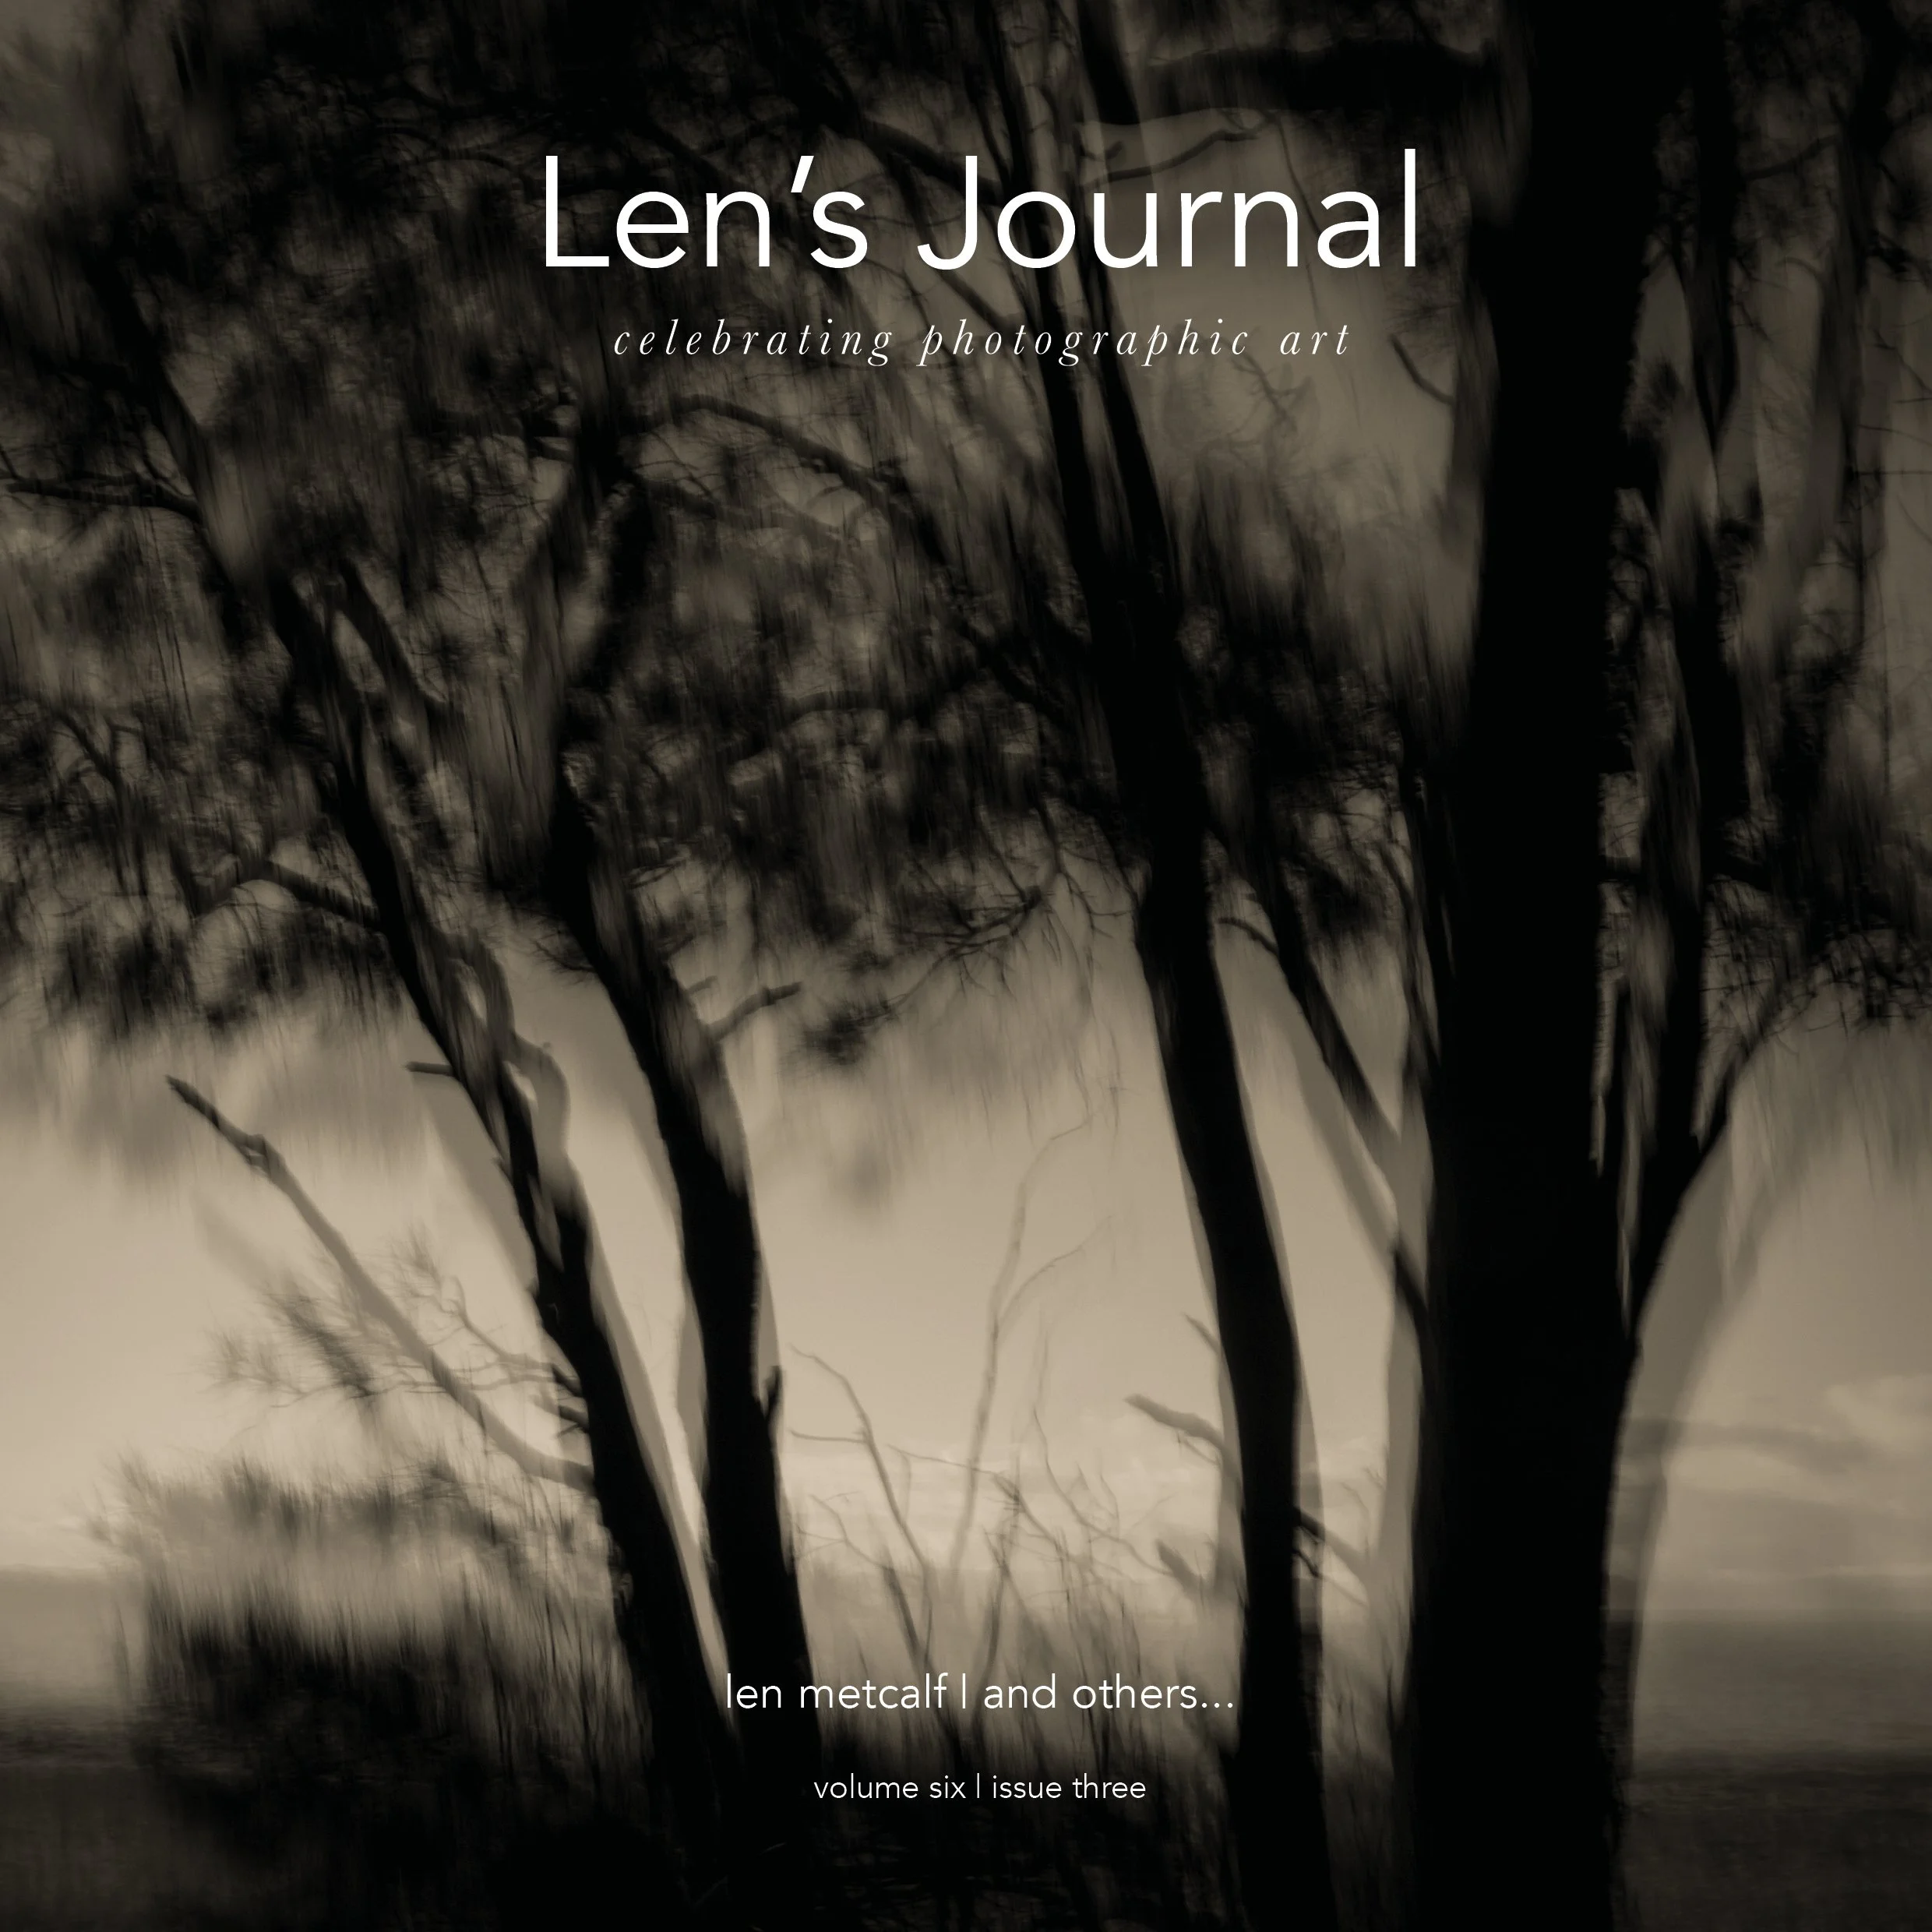
Len’s Journal - volume 6 issue 3
an exhibition not to be missed
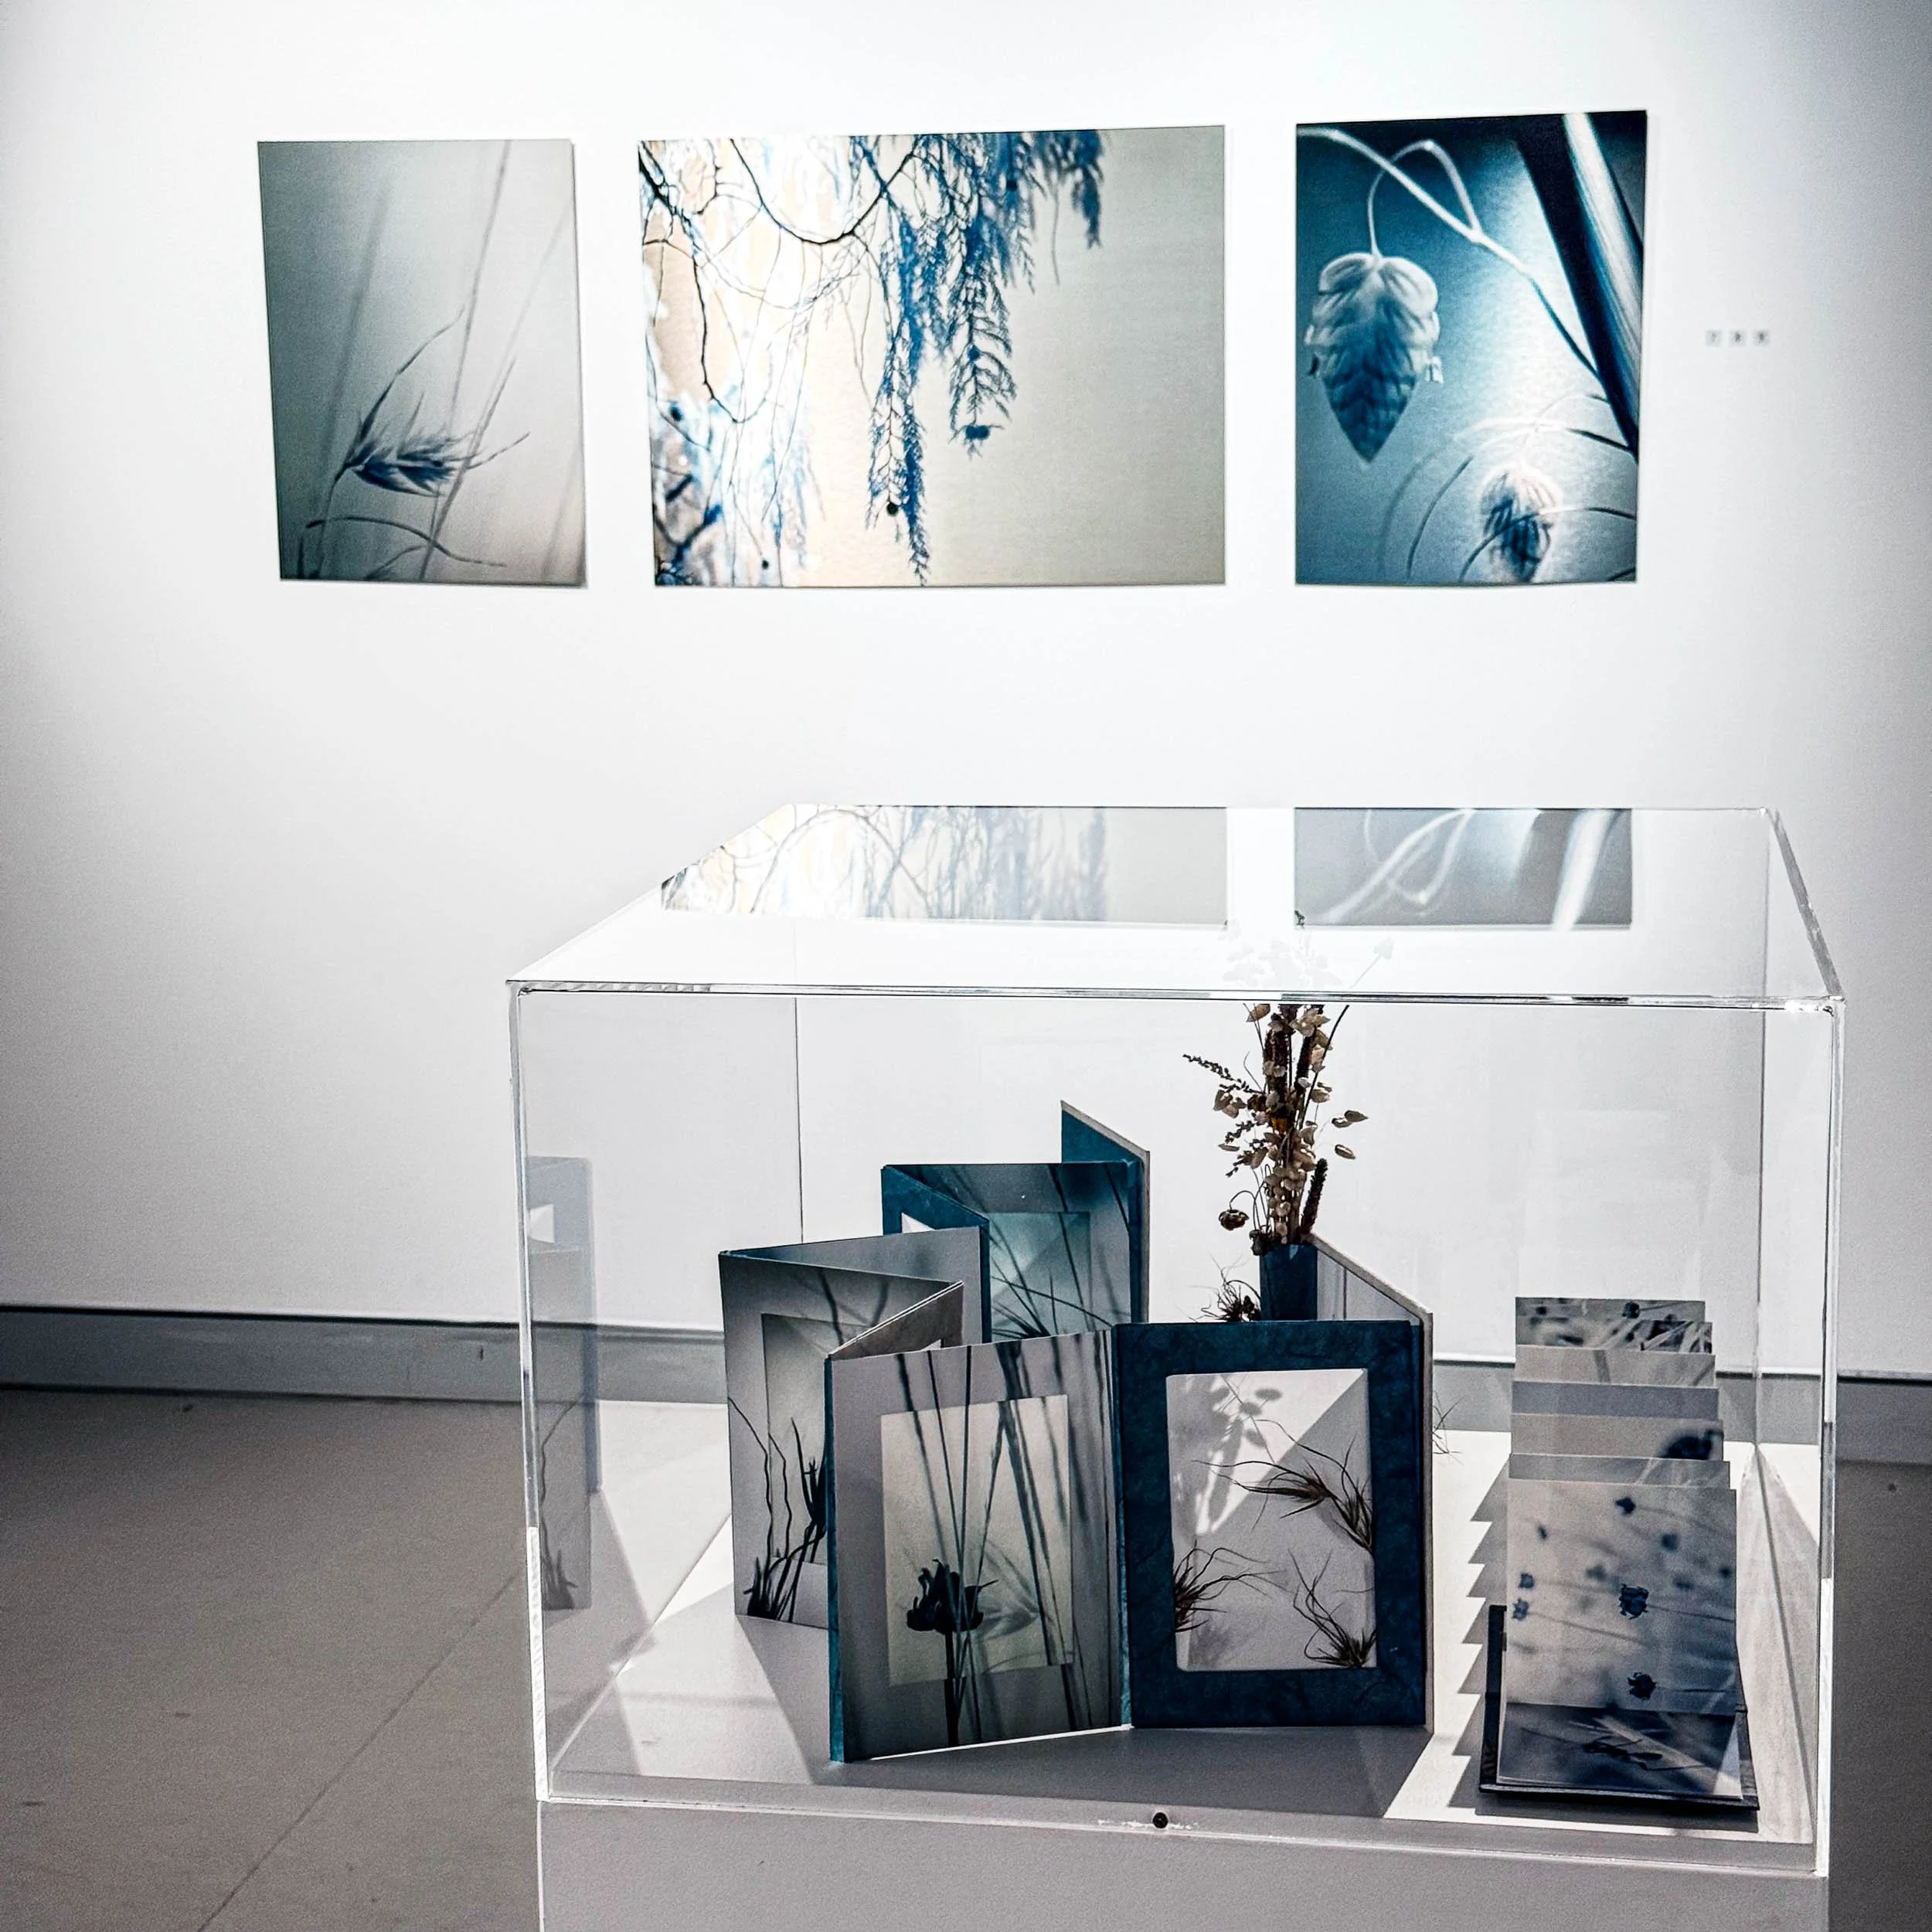
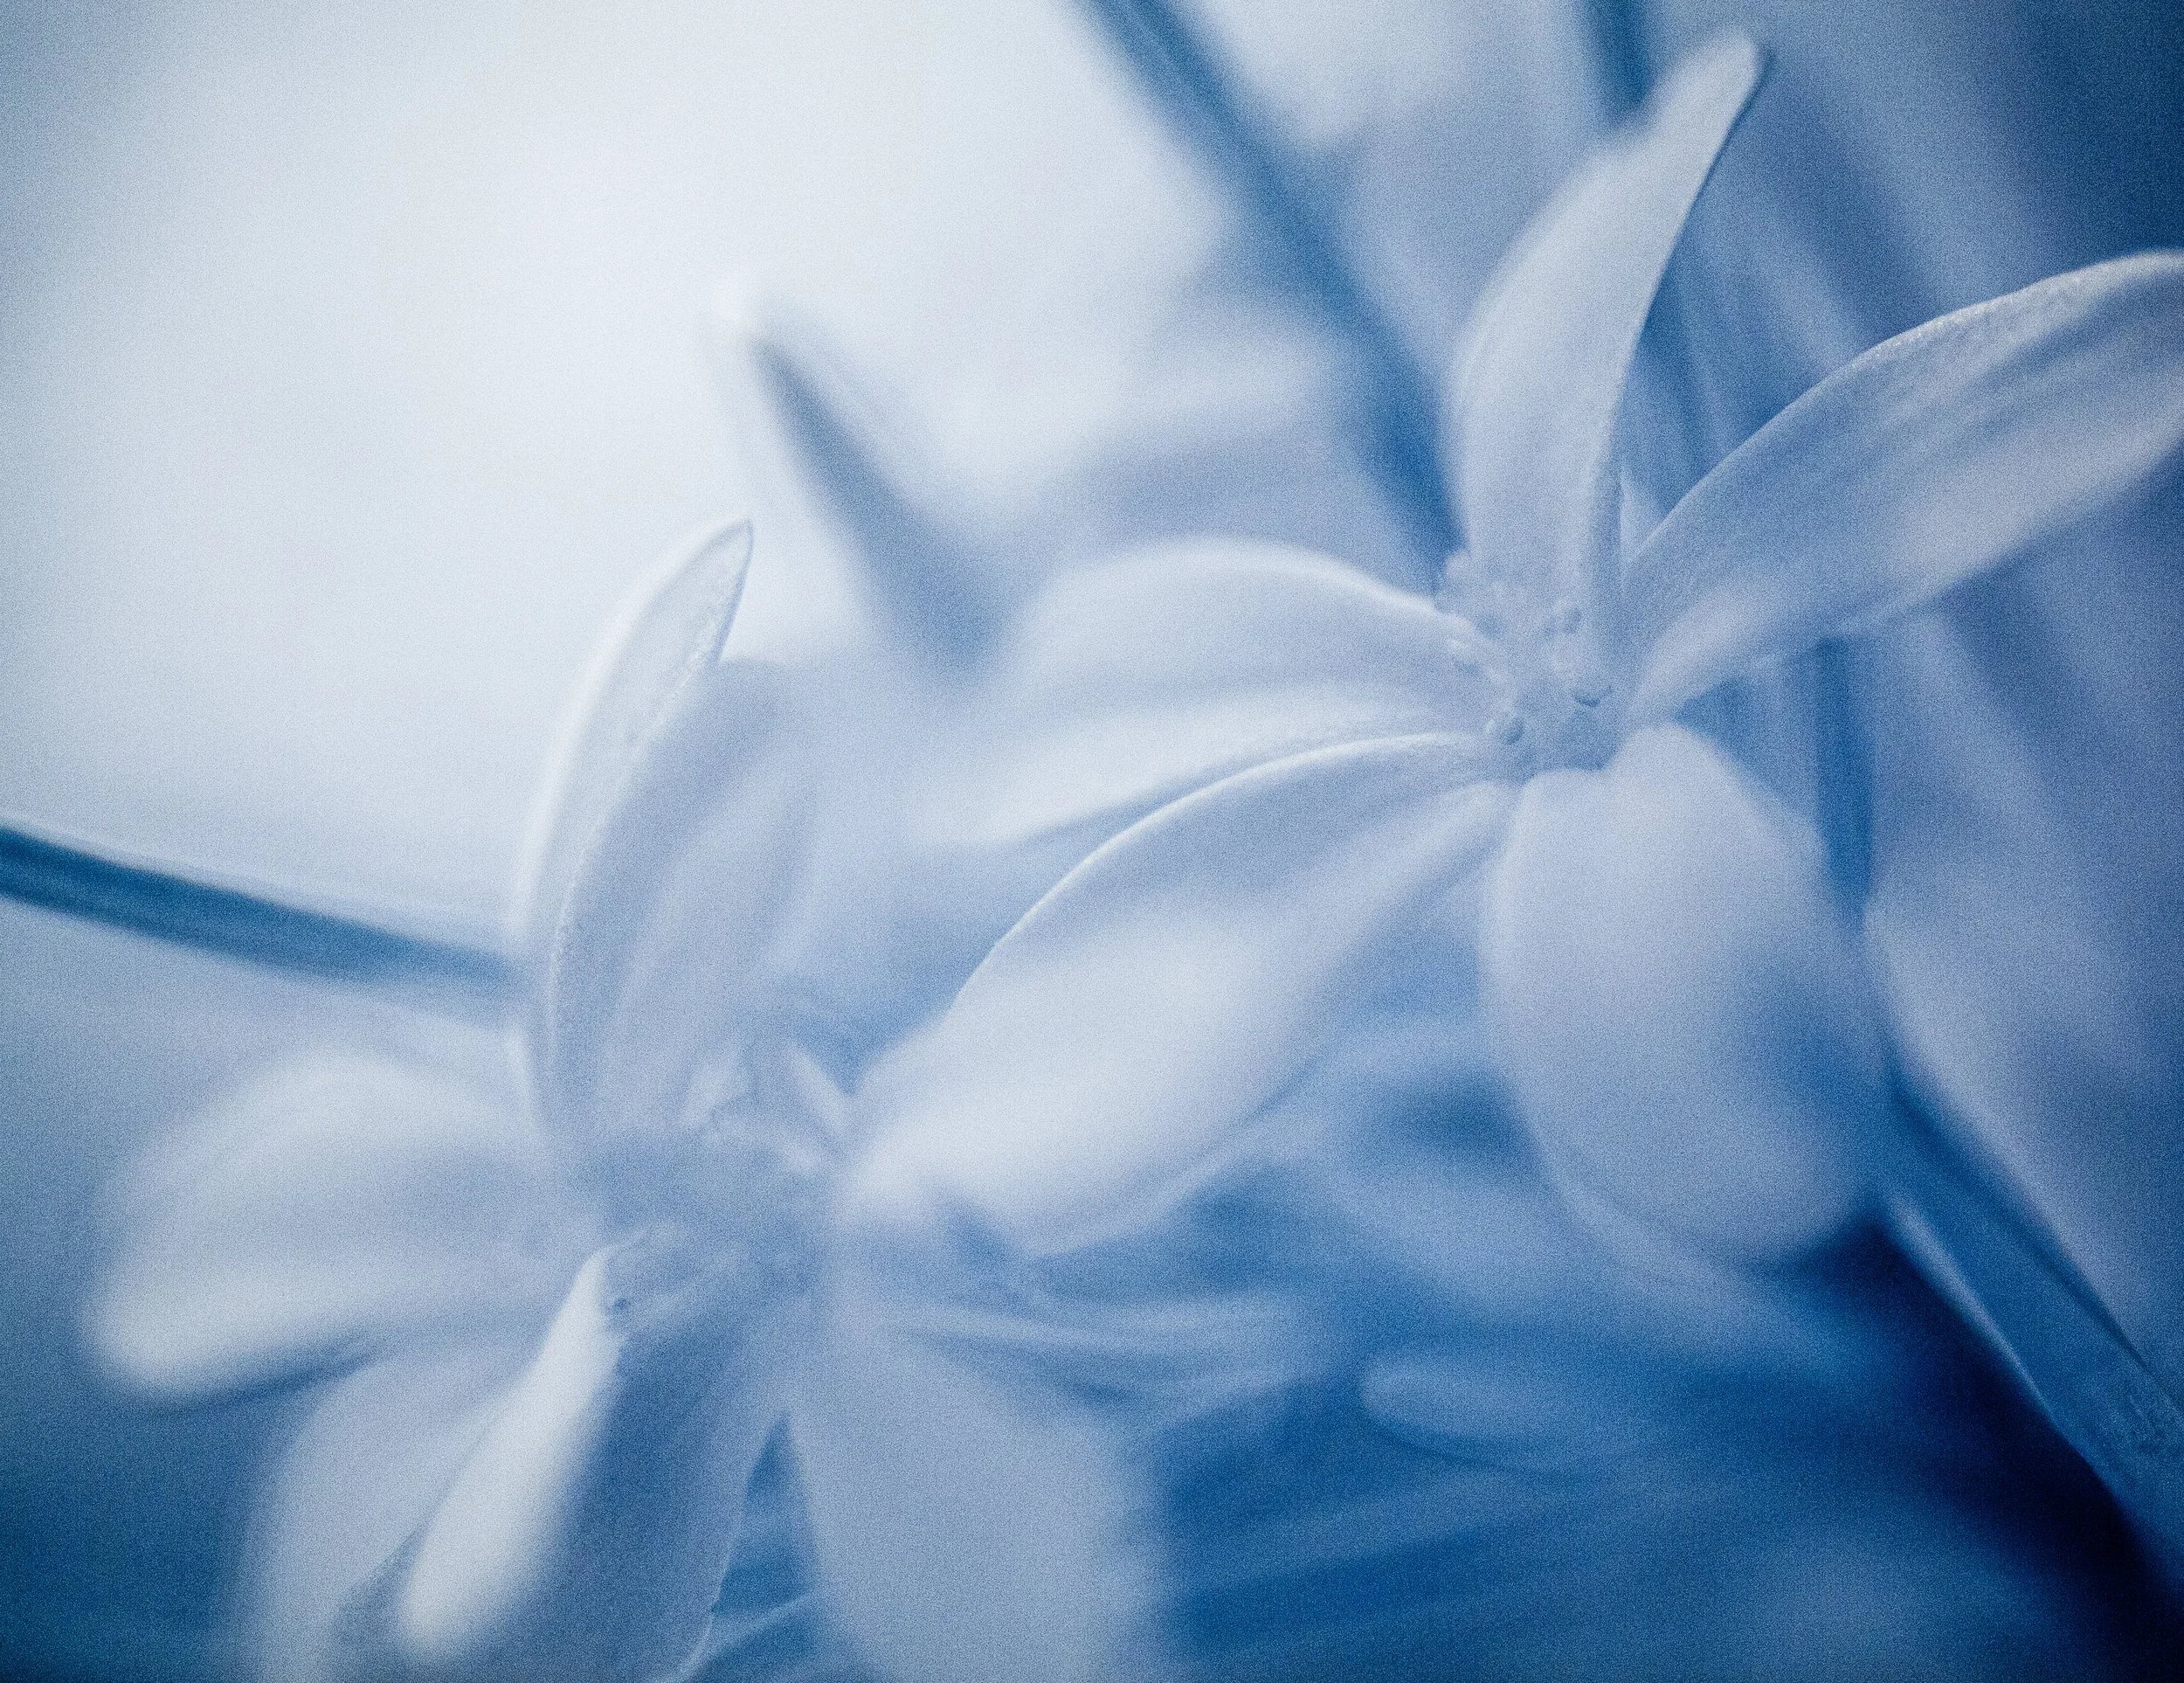
Echoes of Silence, Amanda Hitchens and Clair Reynolds, 19th June - 10th August 2026 Ironbark Gallery, Strathfield Library.
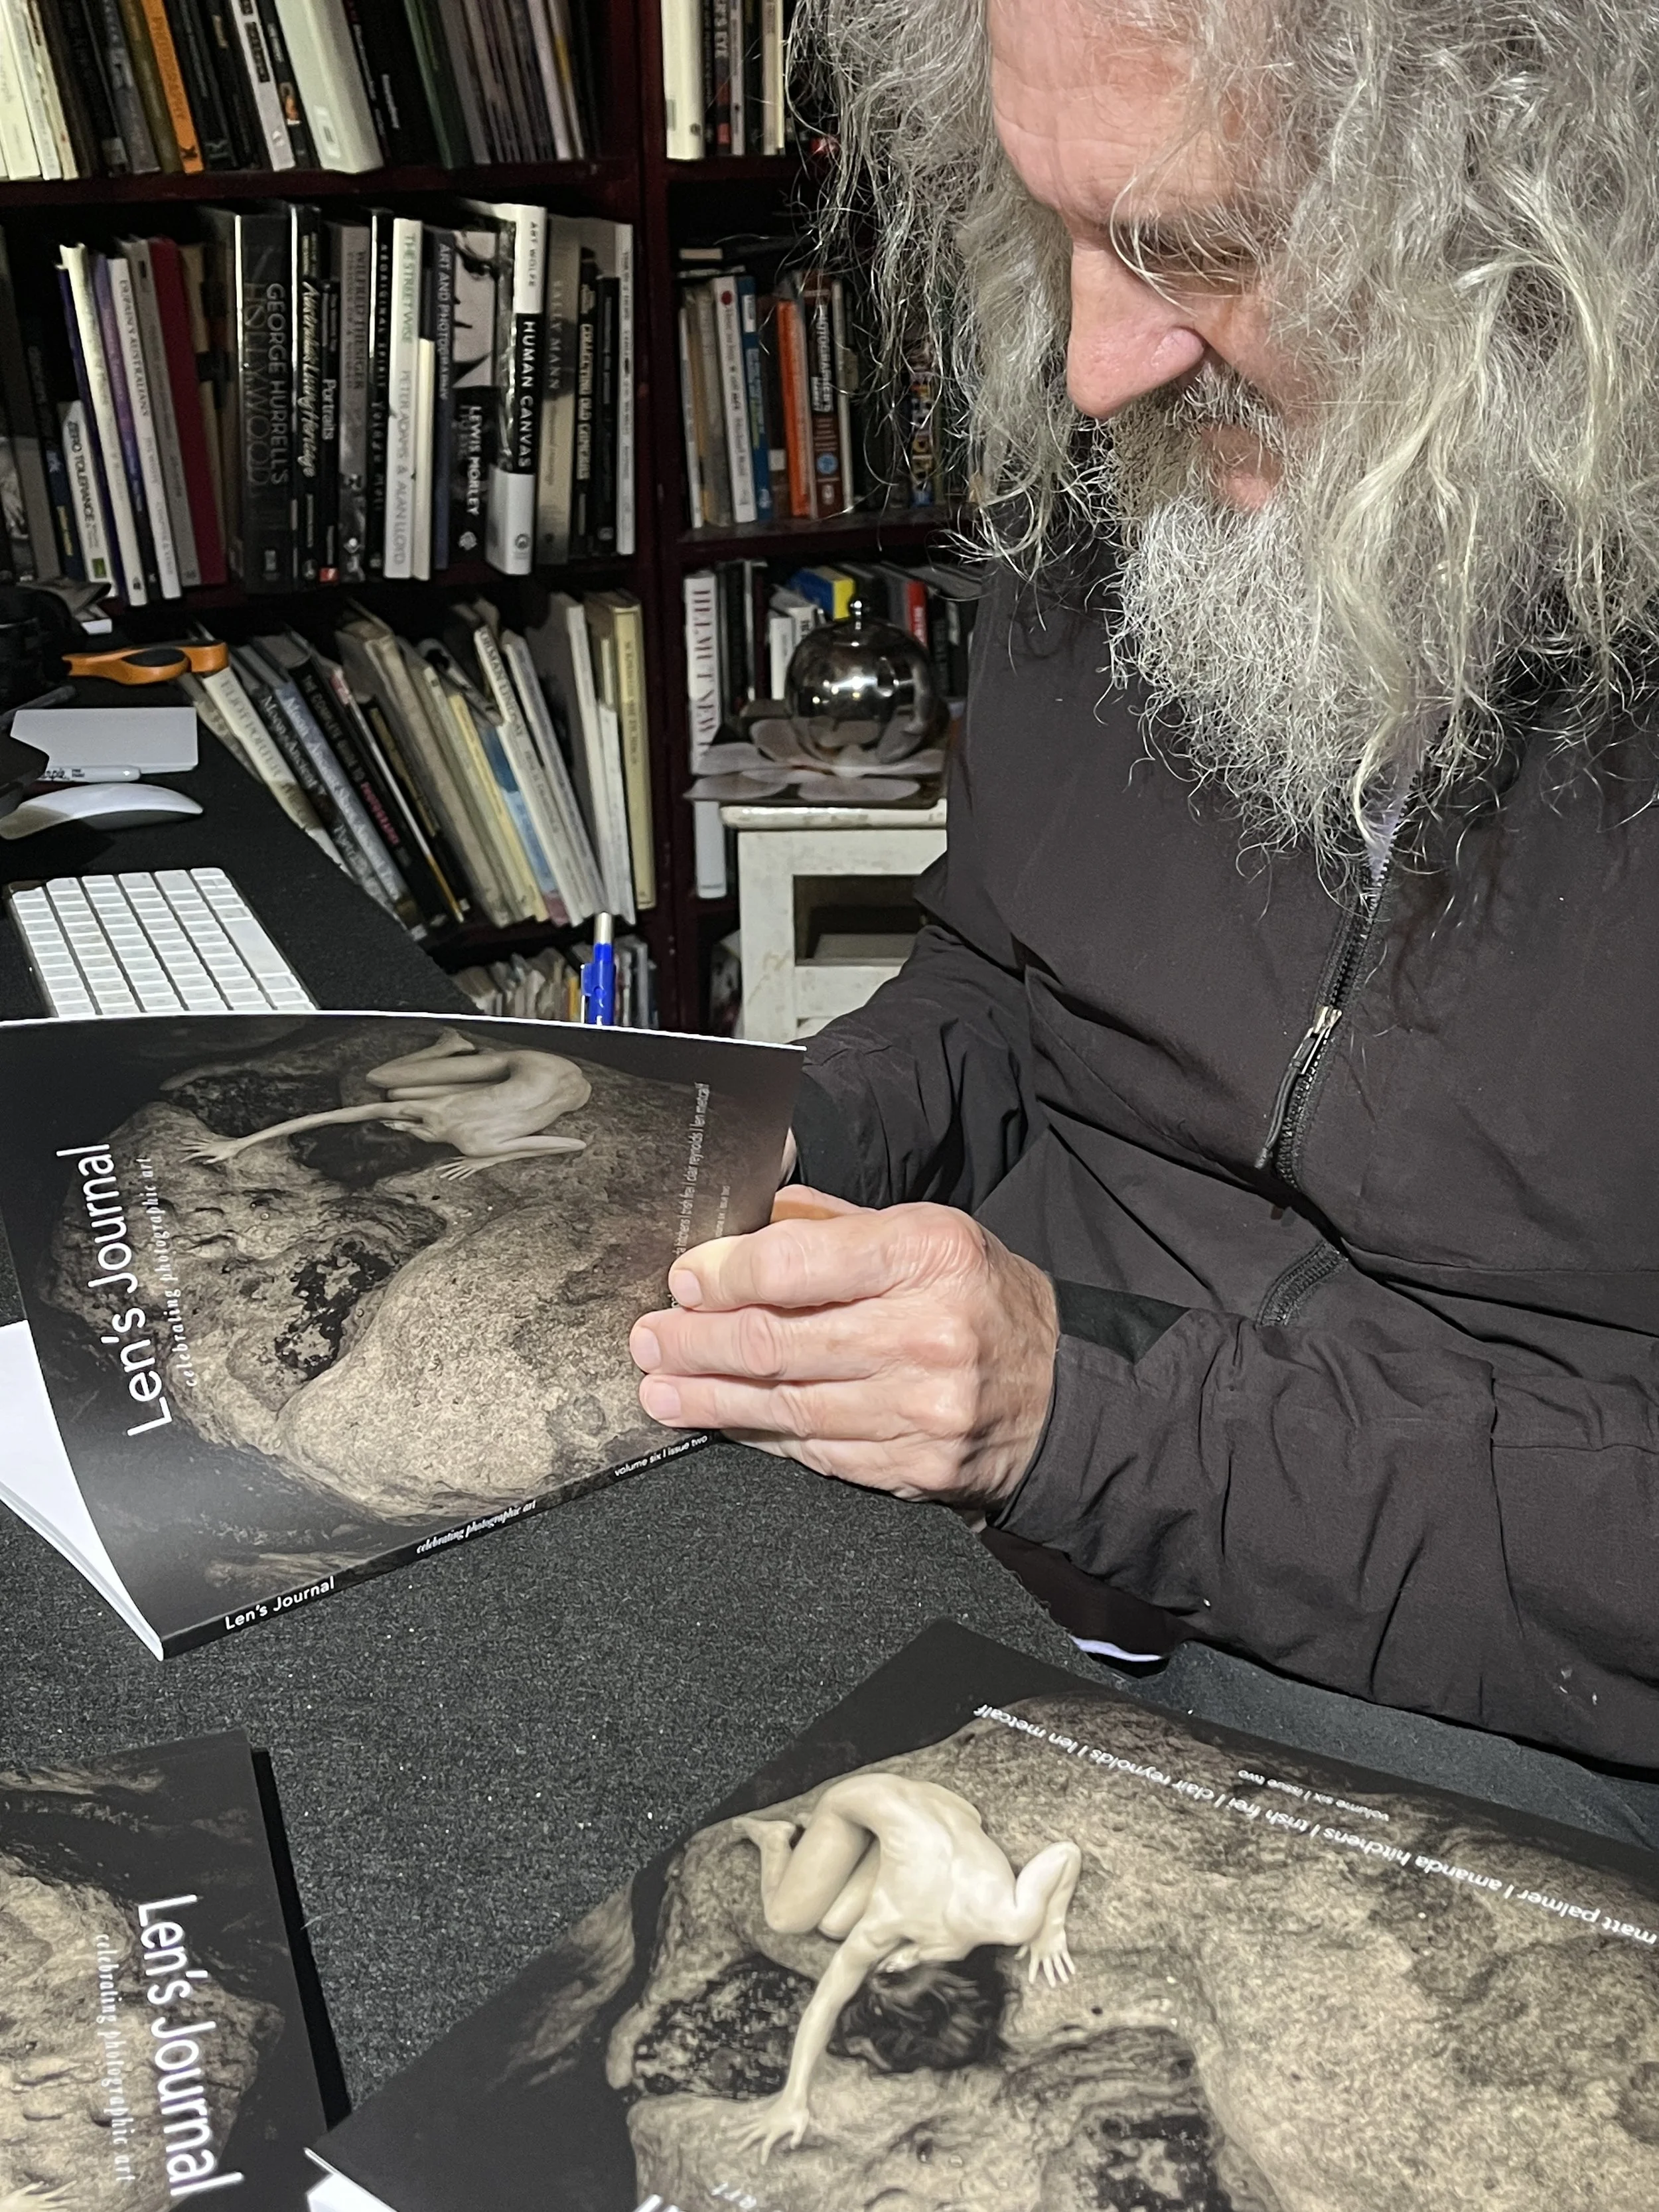
Len’s Journal - volume 6 issue 2 out now
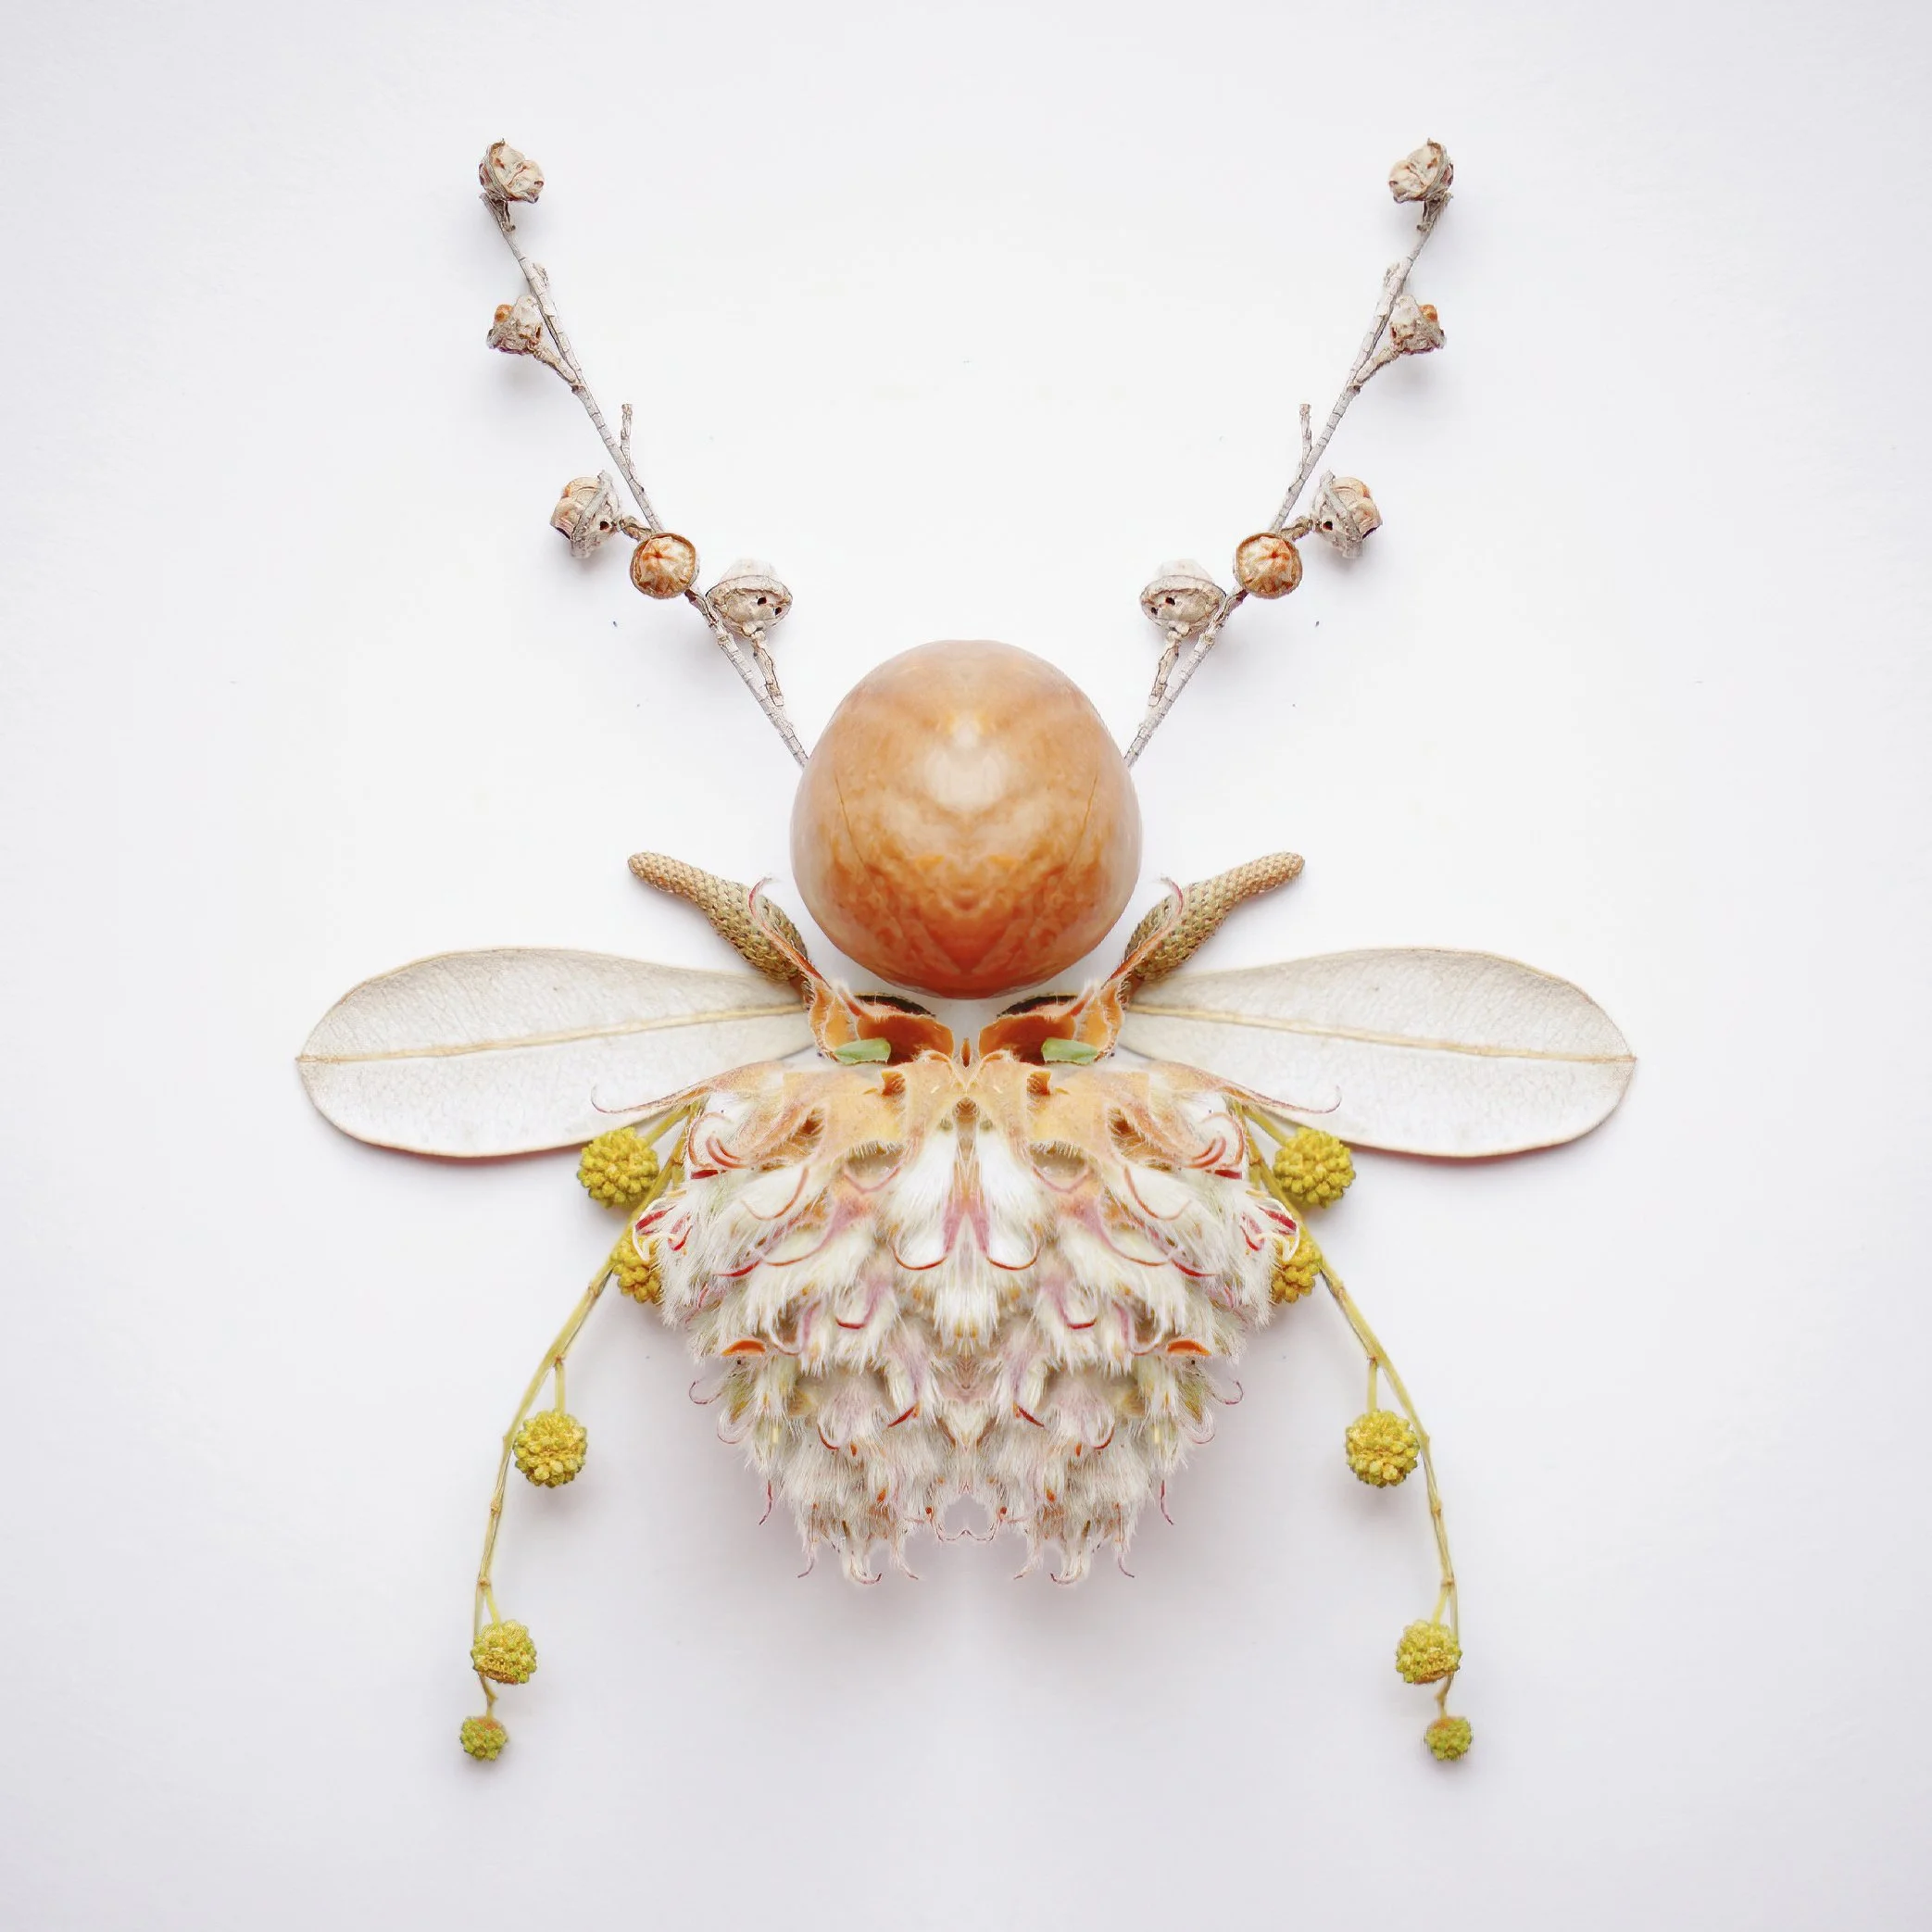
Echoes of Silence
An exquisite exhibition by Amanda Hitchens & Clair Reynolds, at Ironbark Gallery in Strathfield. 19 June – 10 August 2026
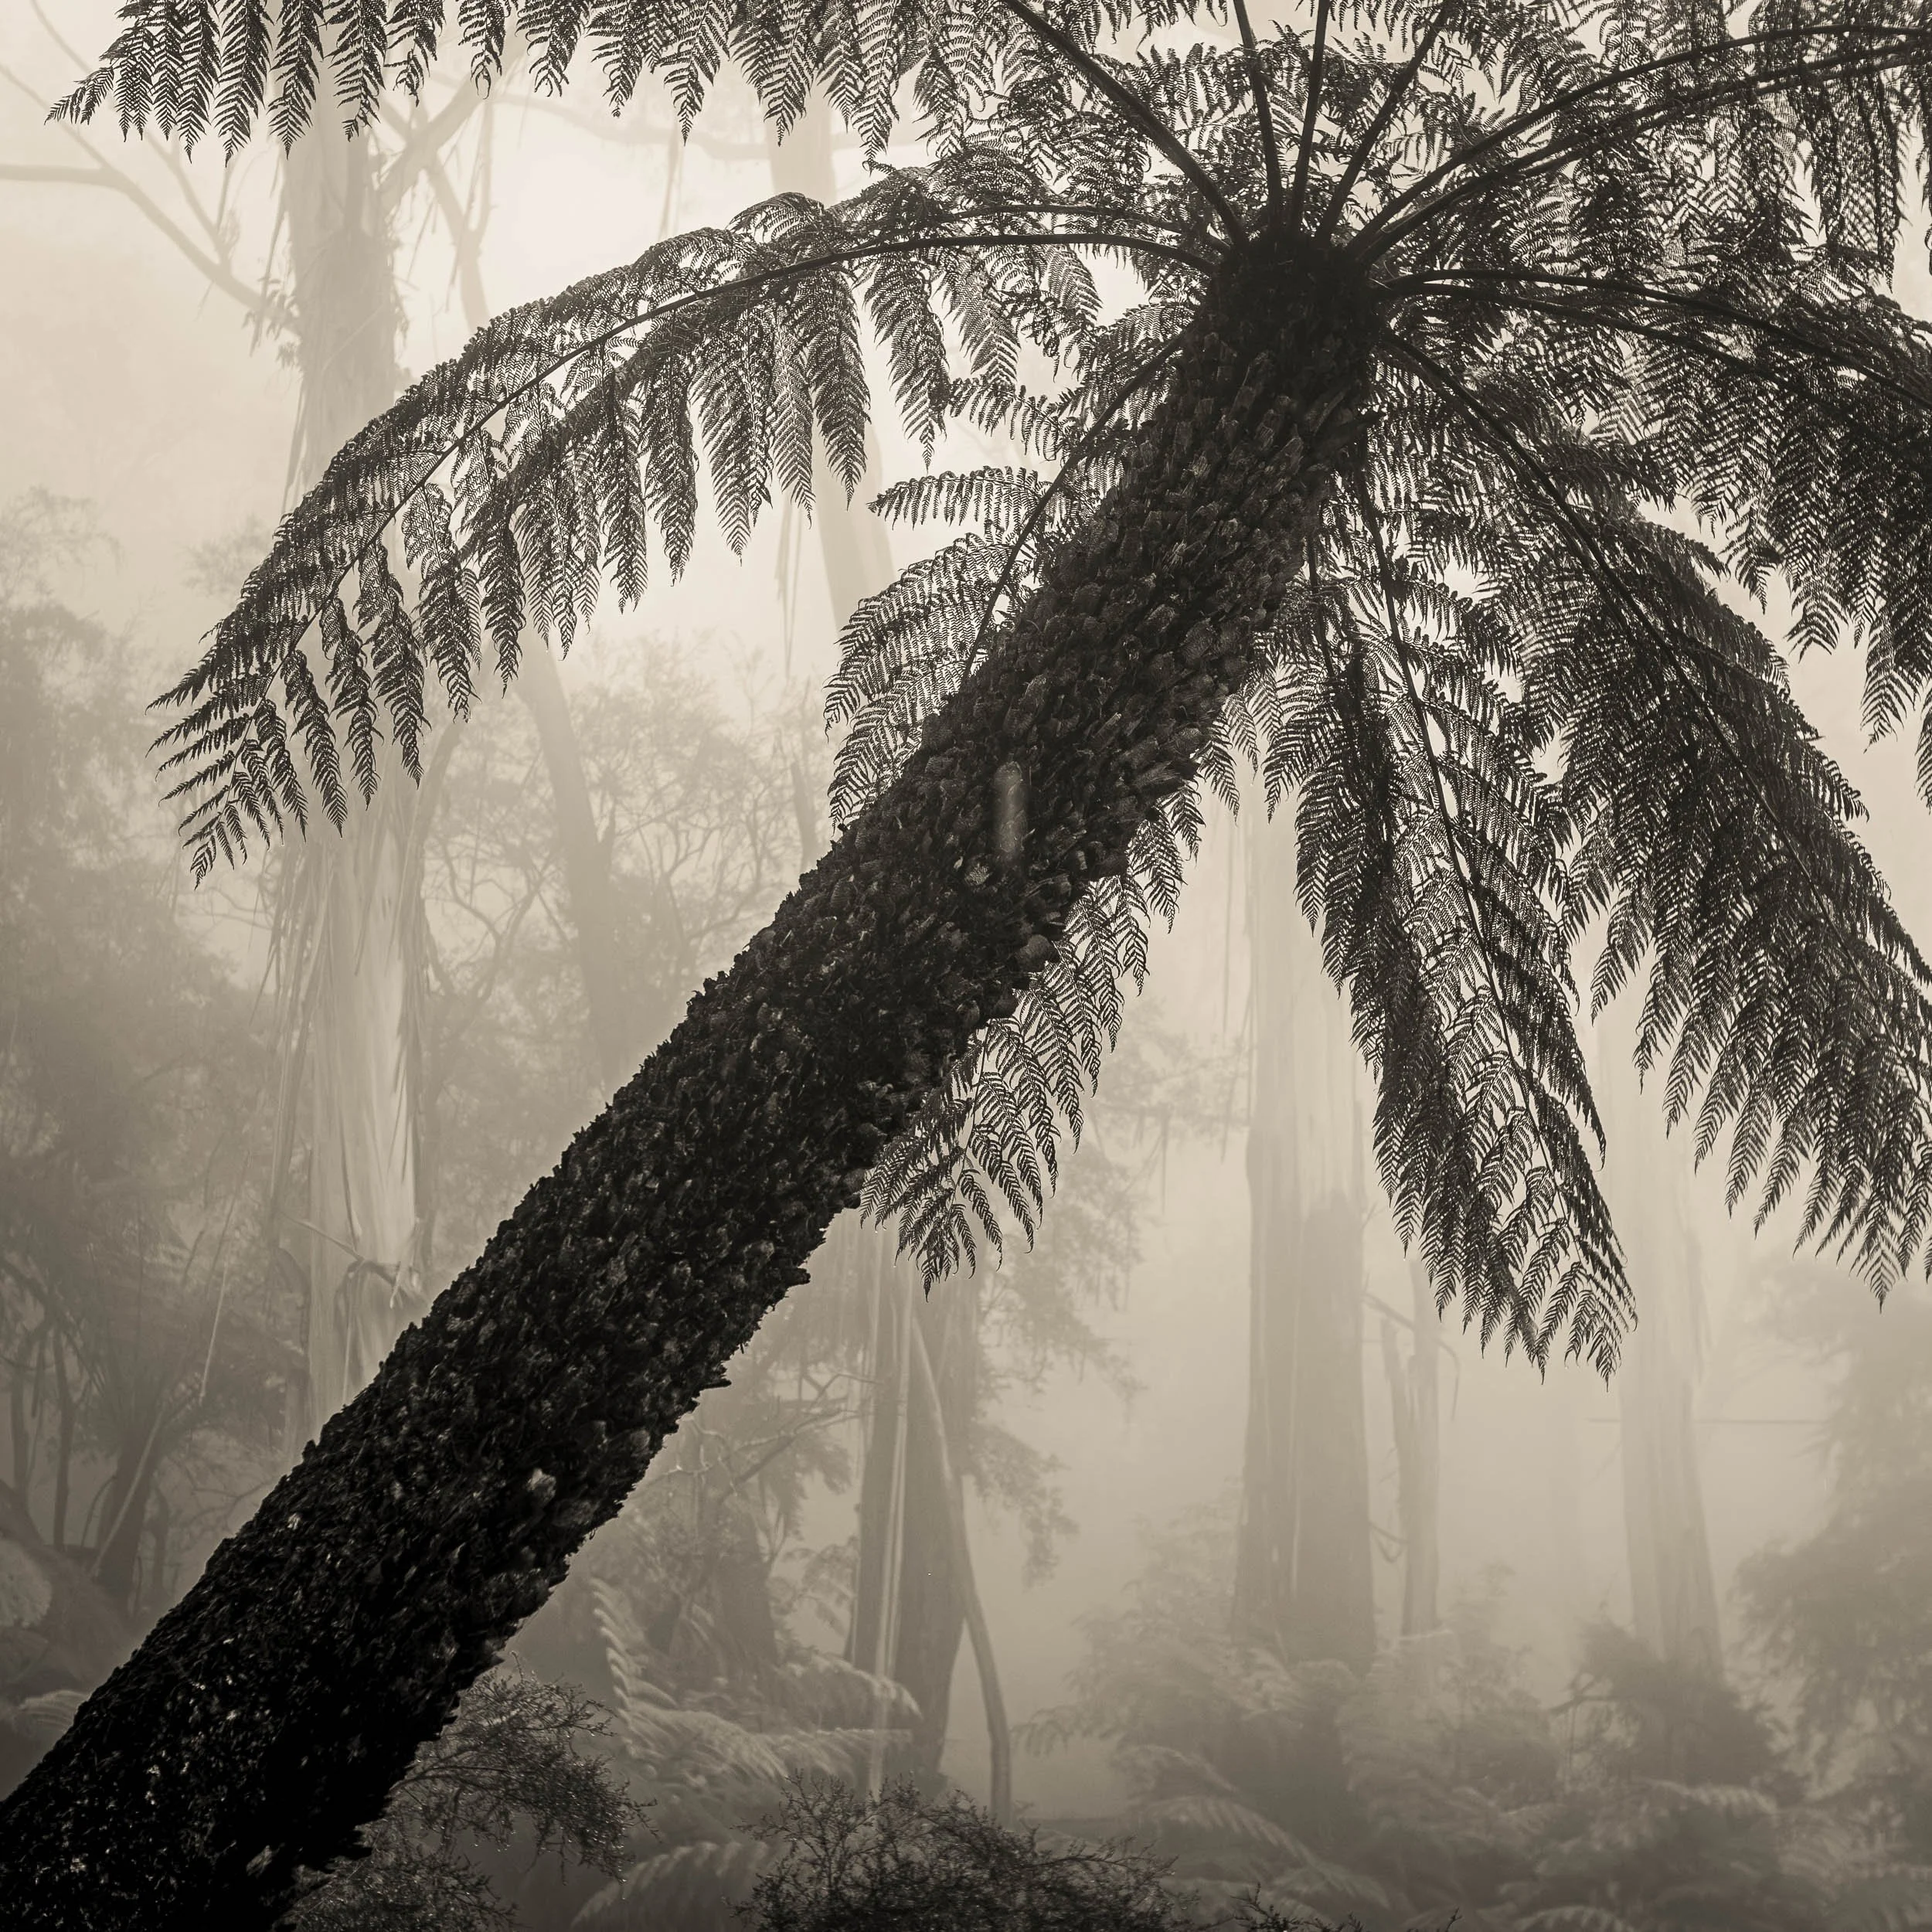
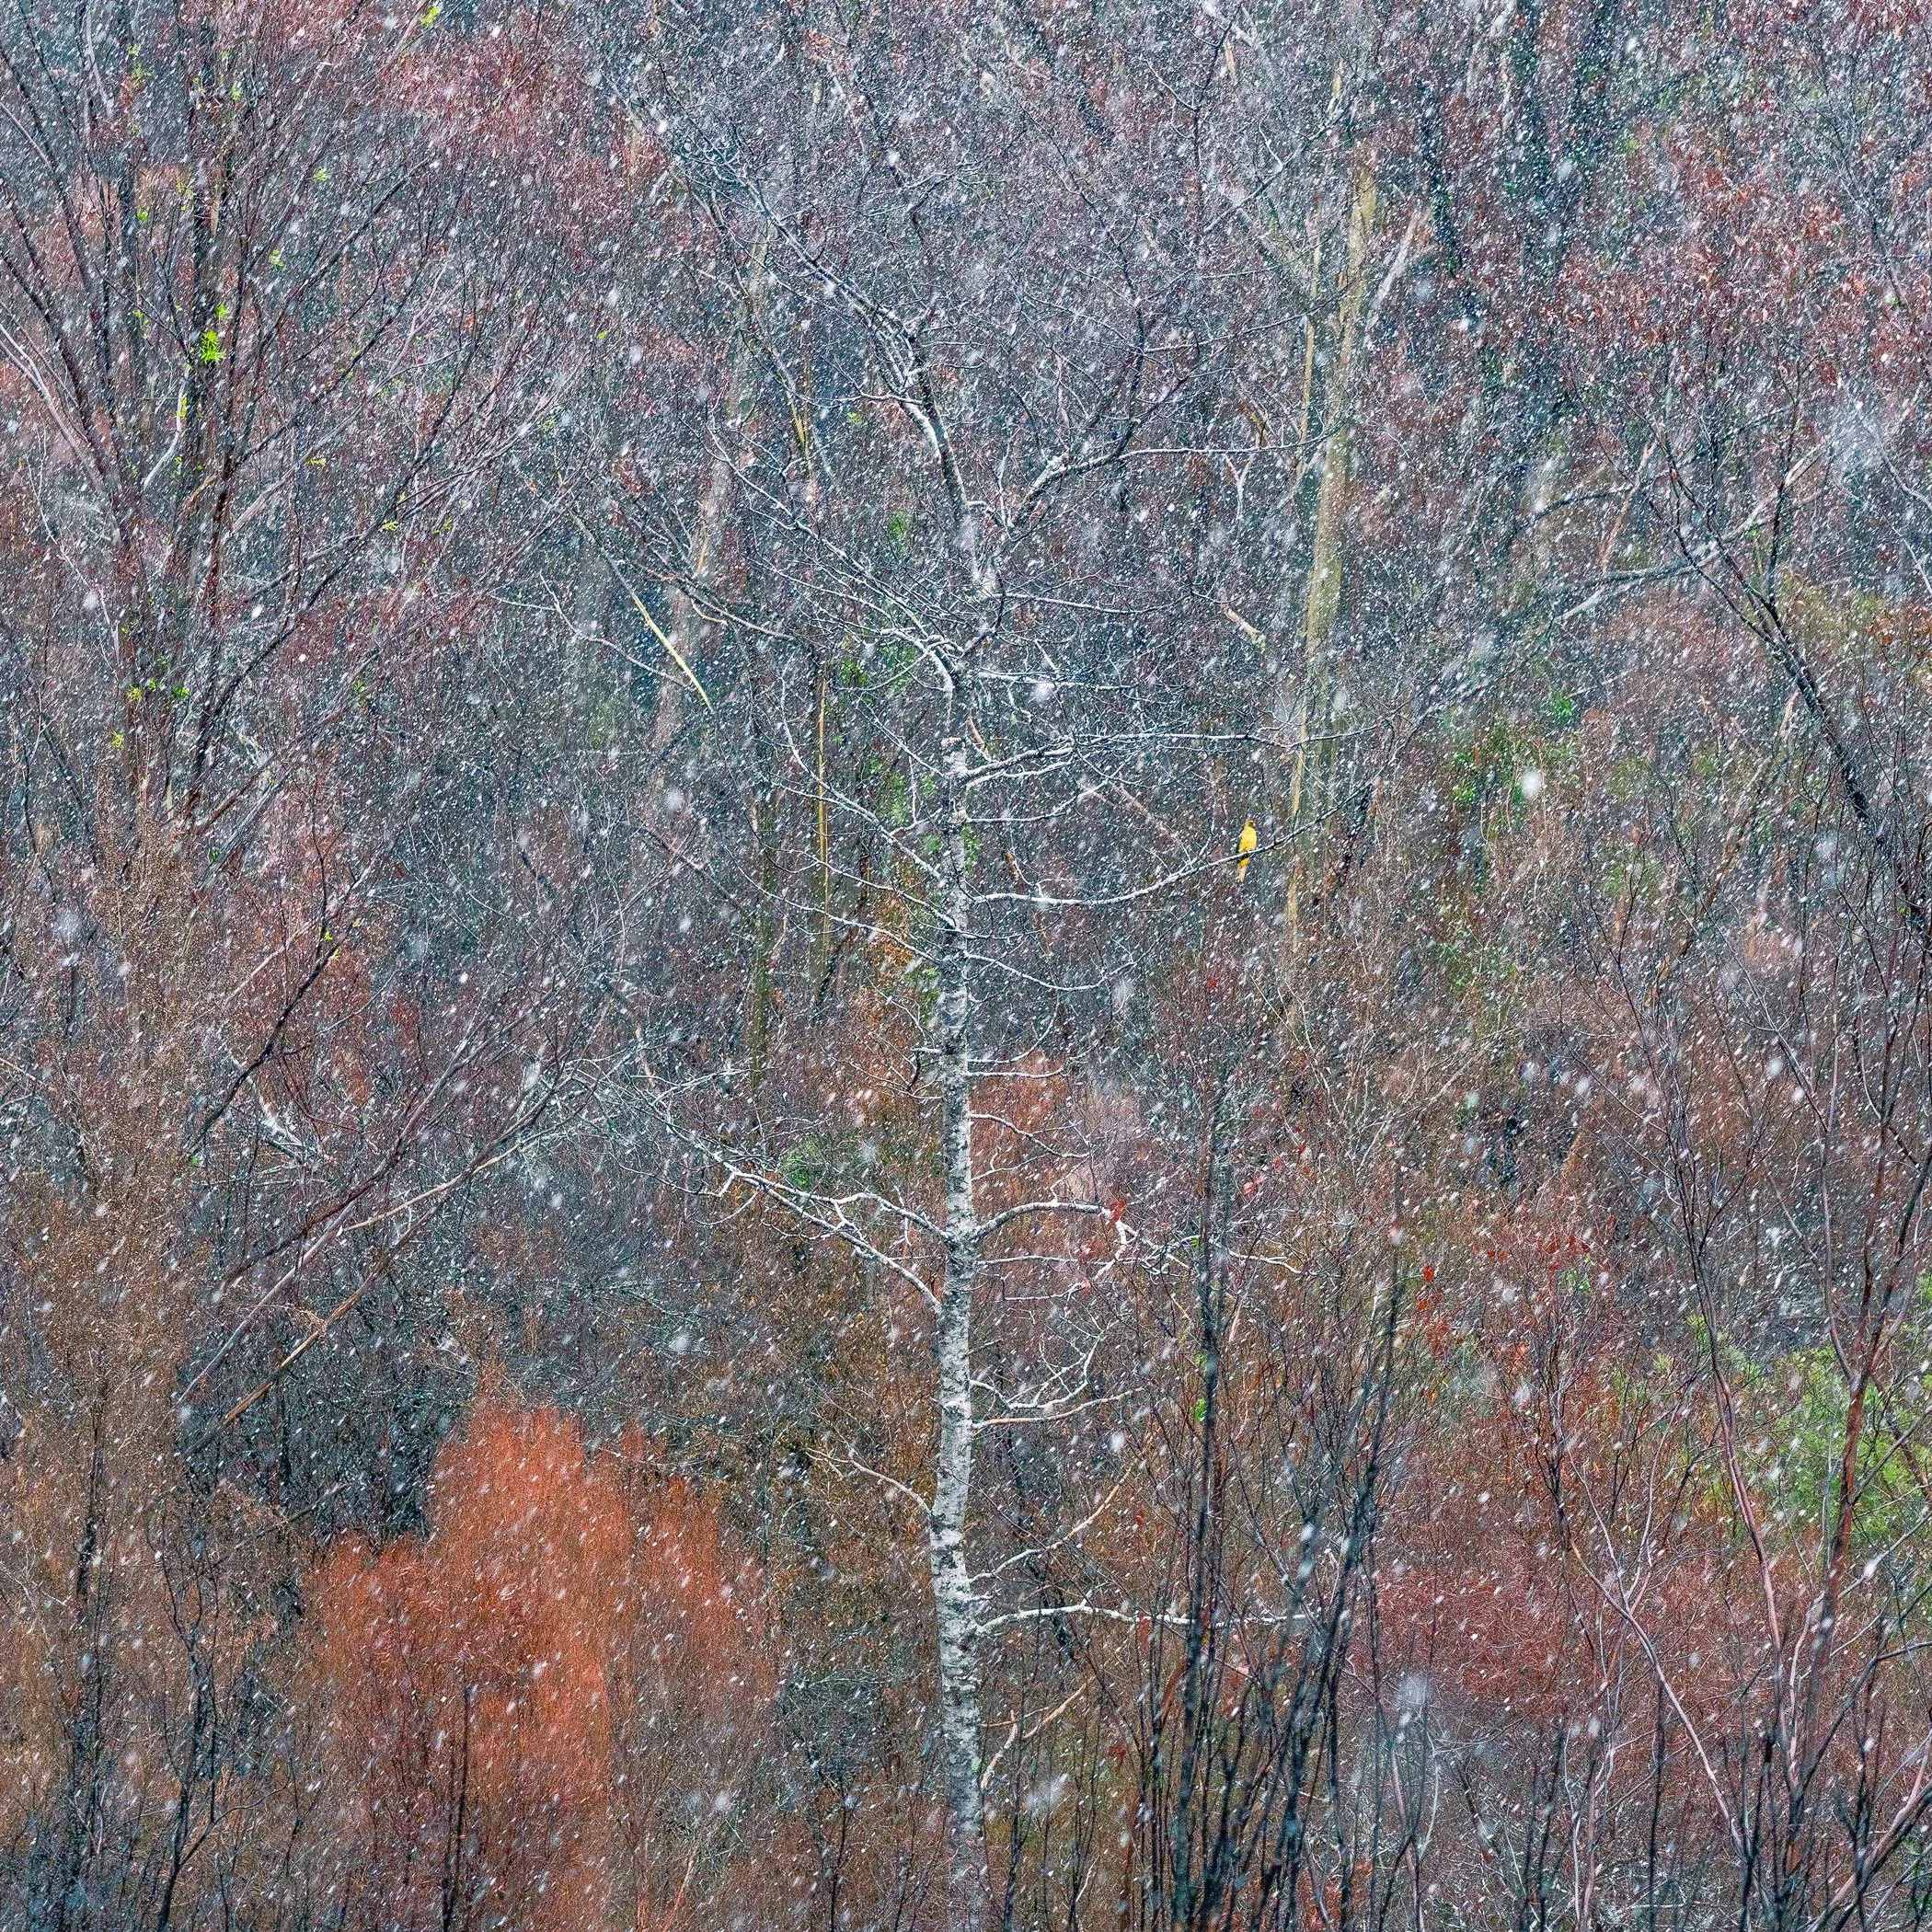
Misty Lens
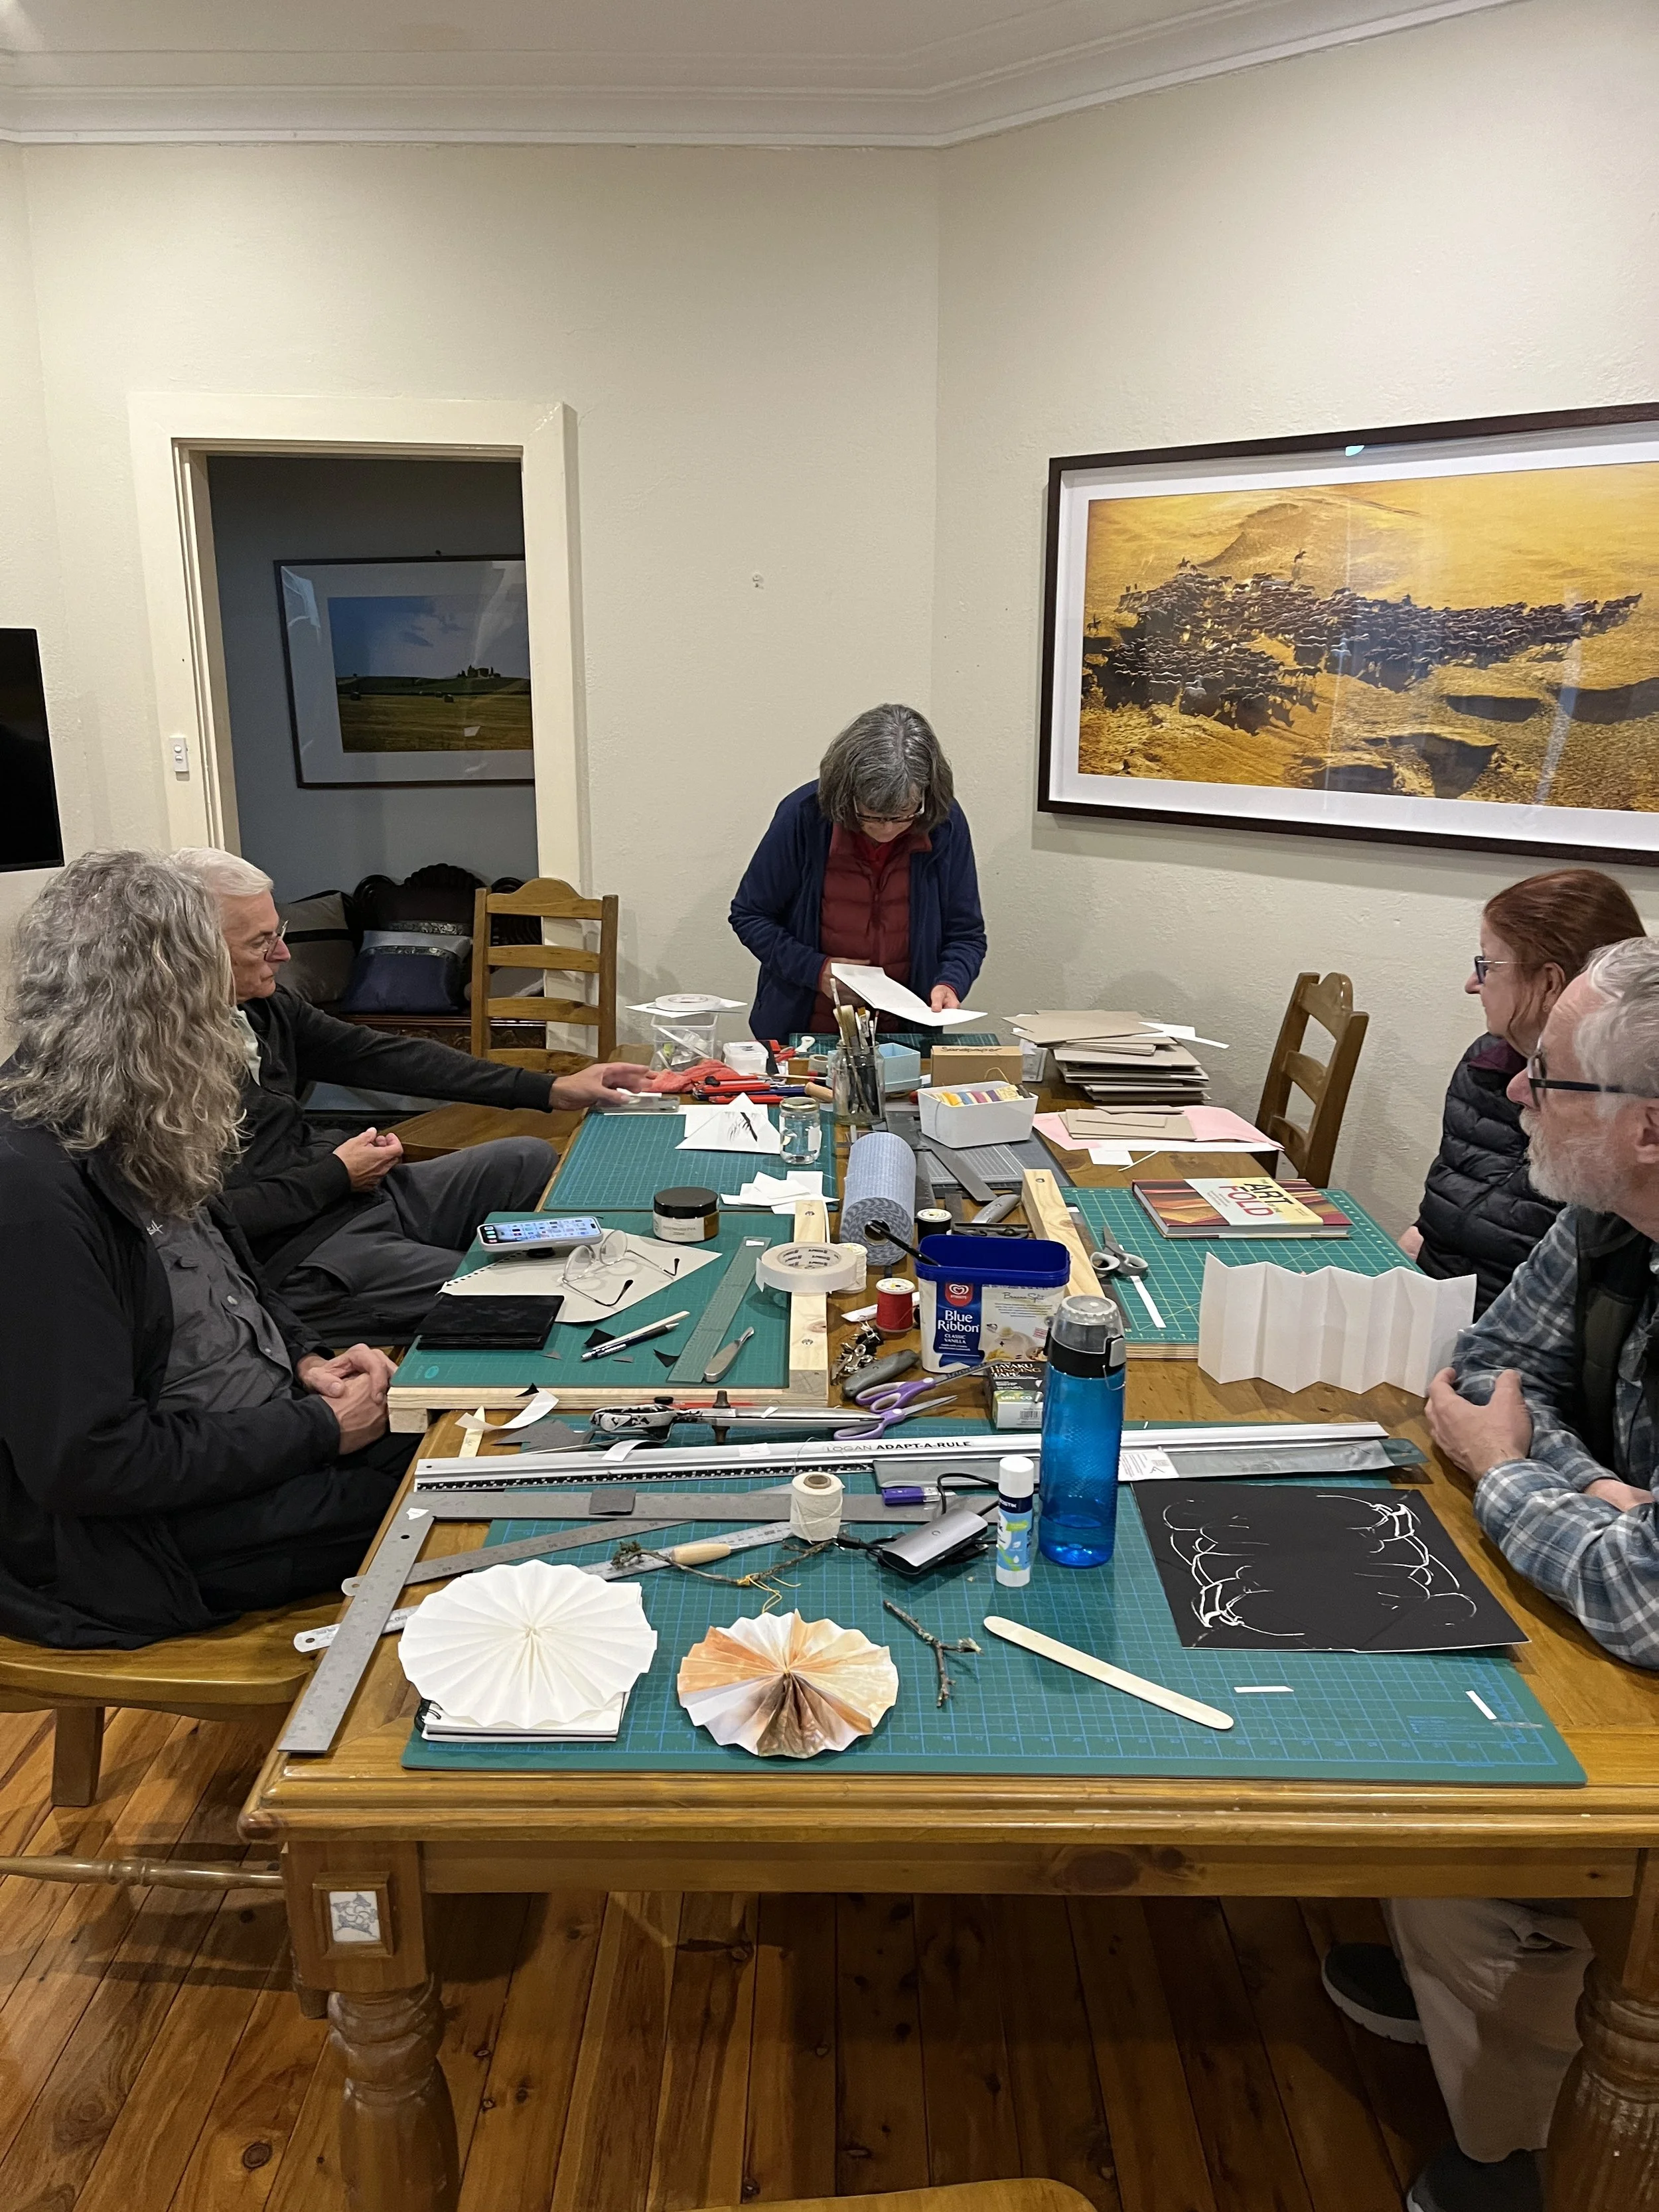
a wonderful week in the Blue Mountains…

trish frei
clair reynolds
amanda hitchens
matt palmer
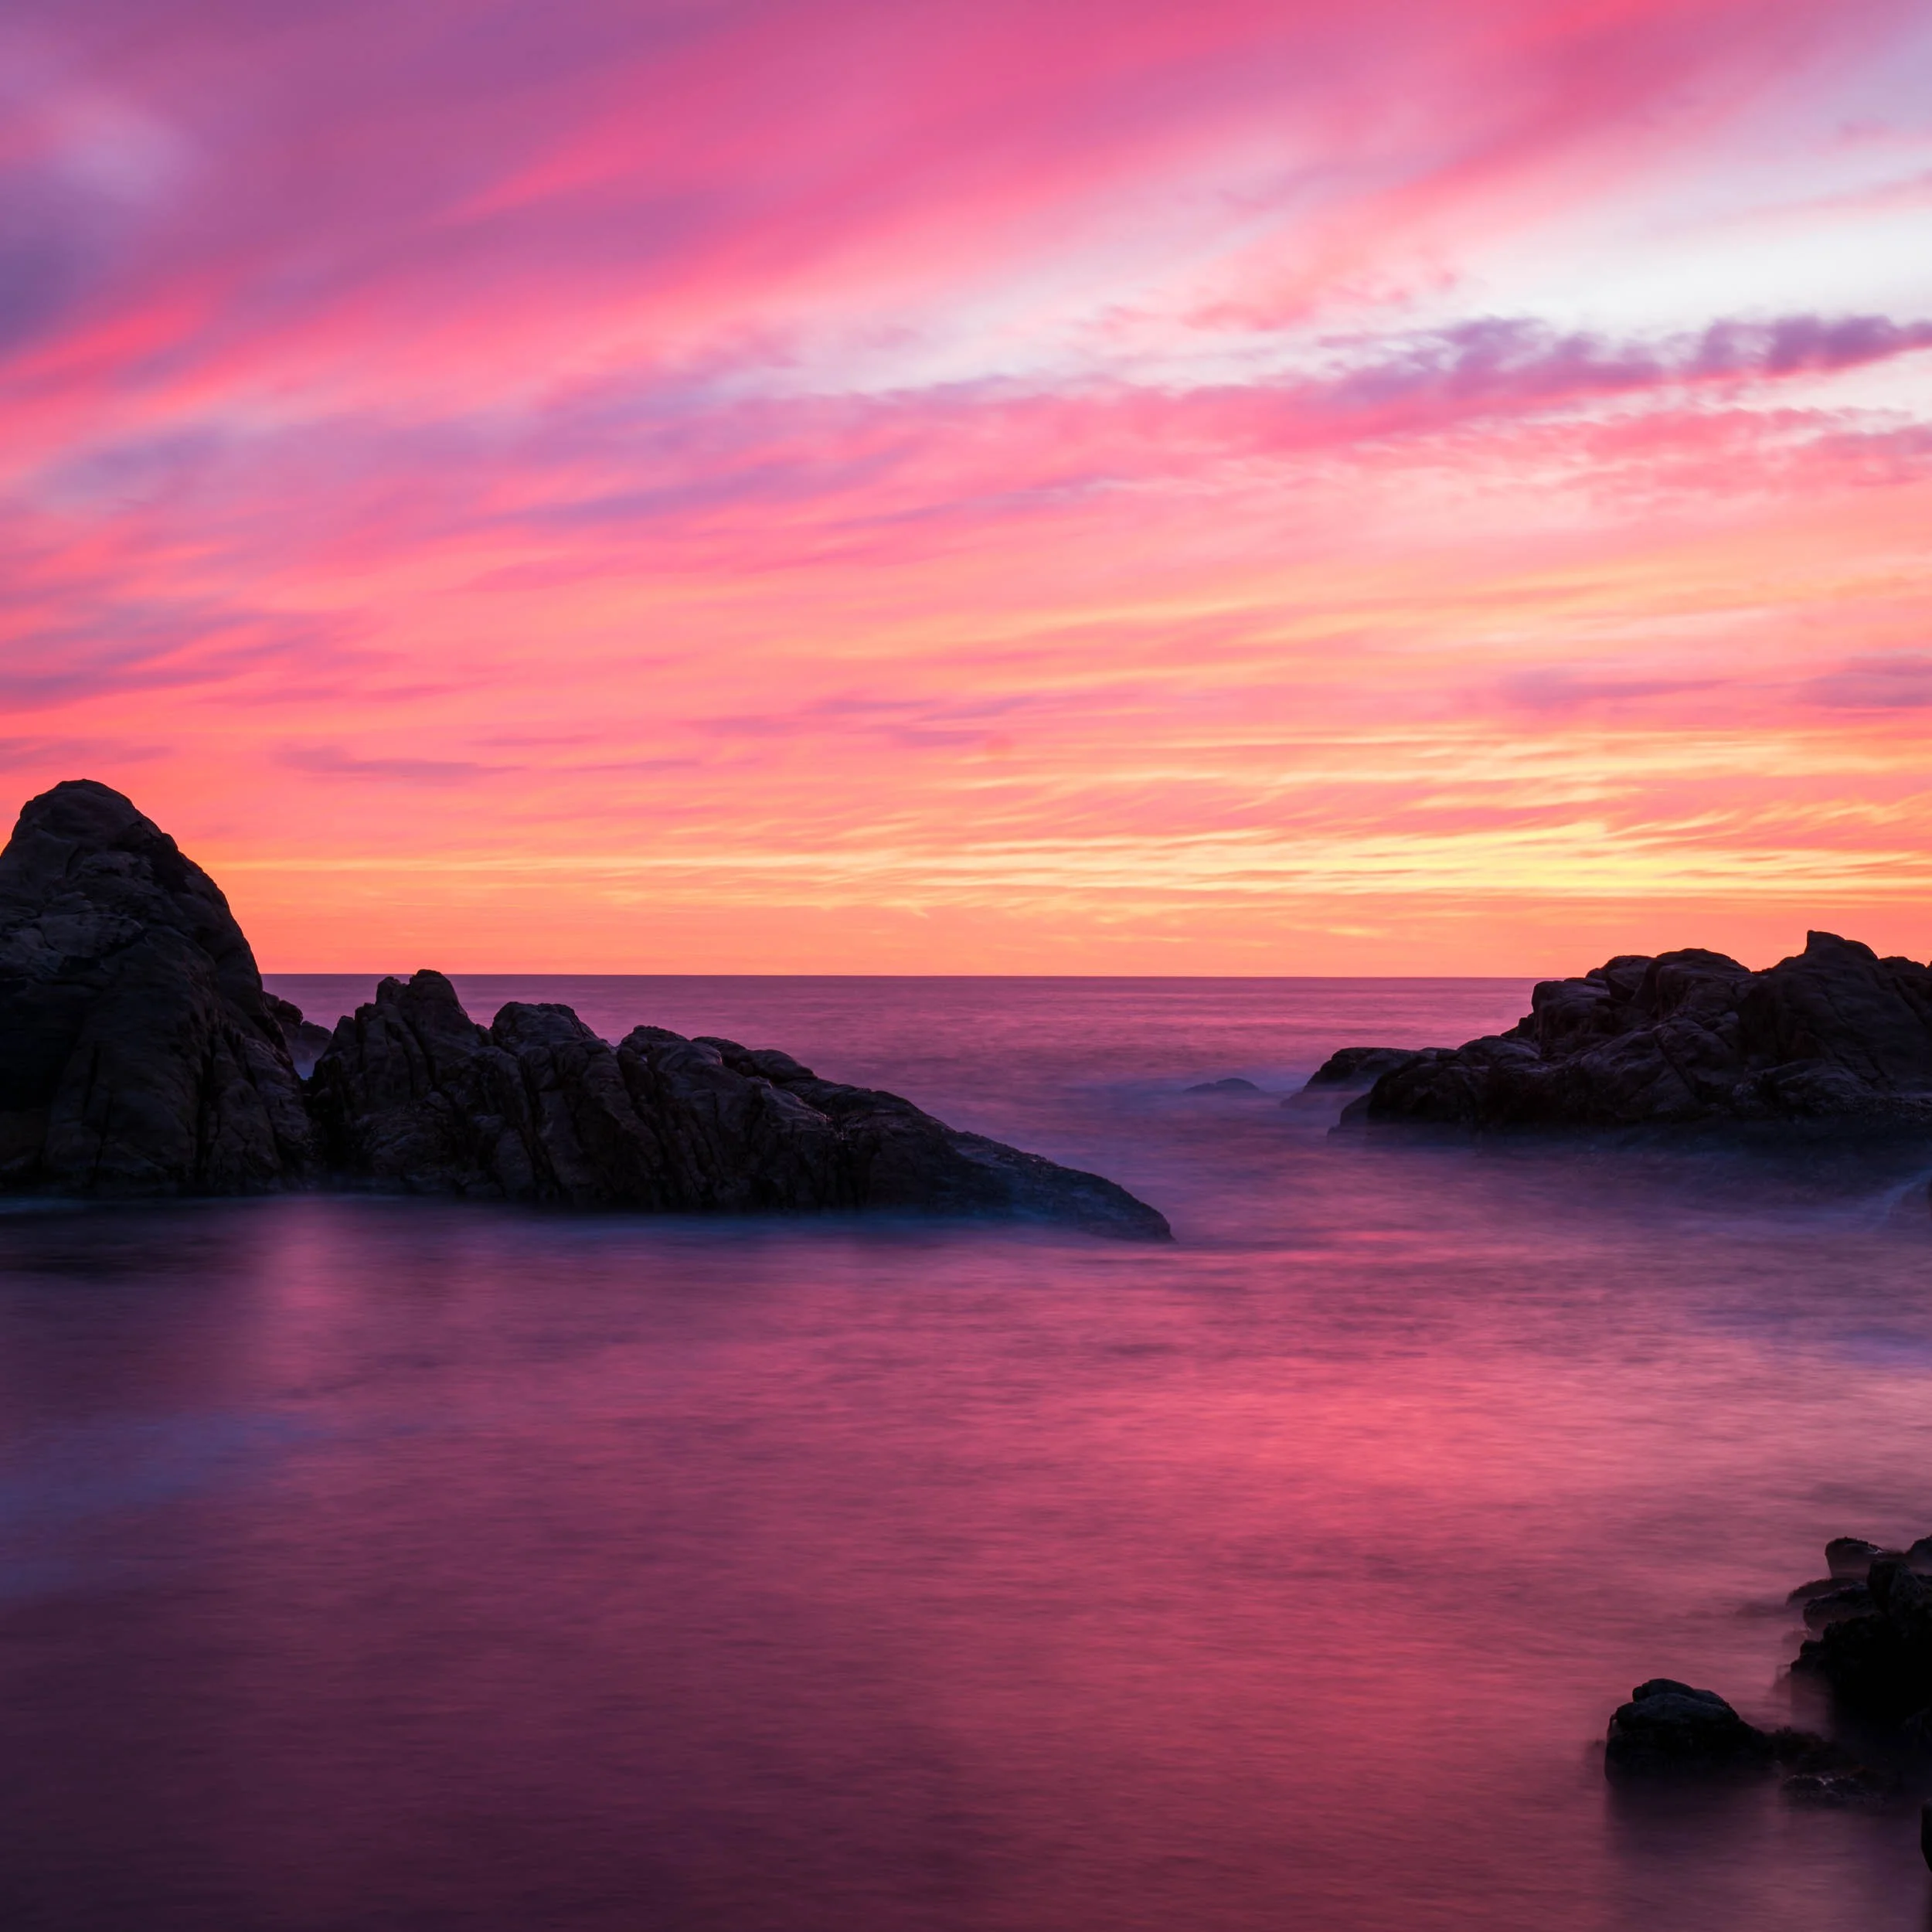
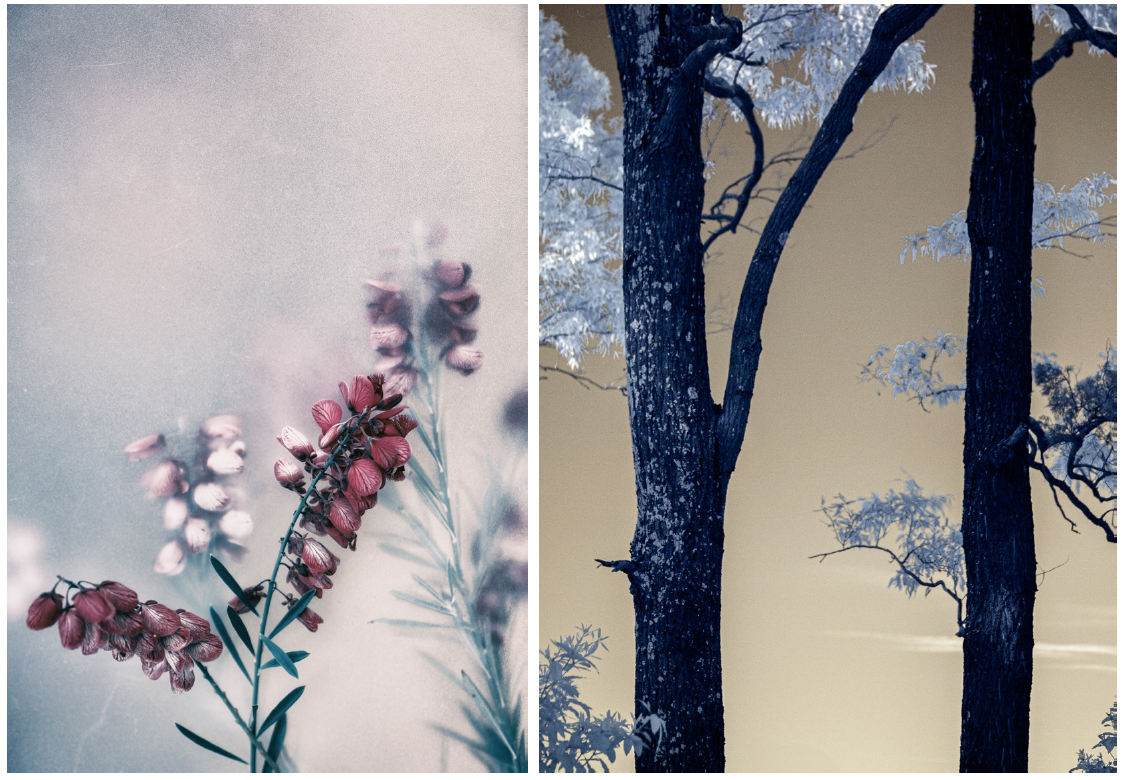
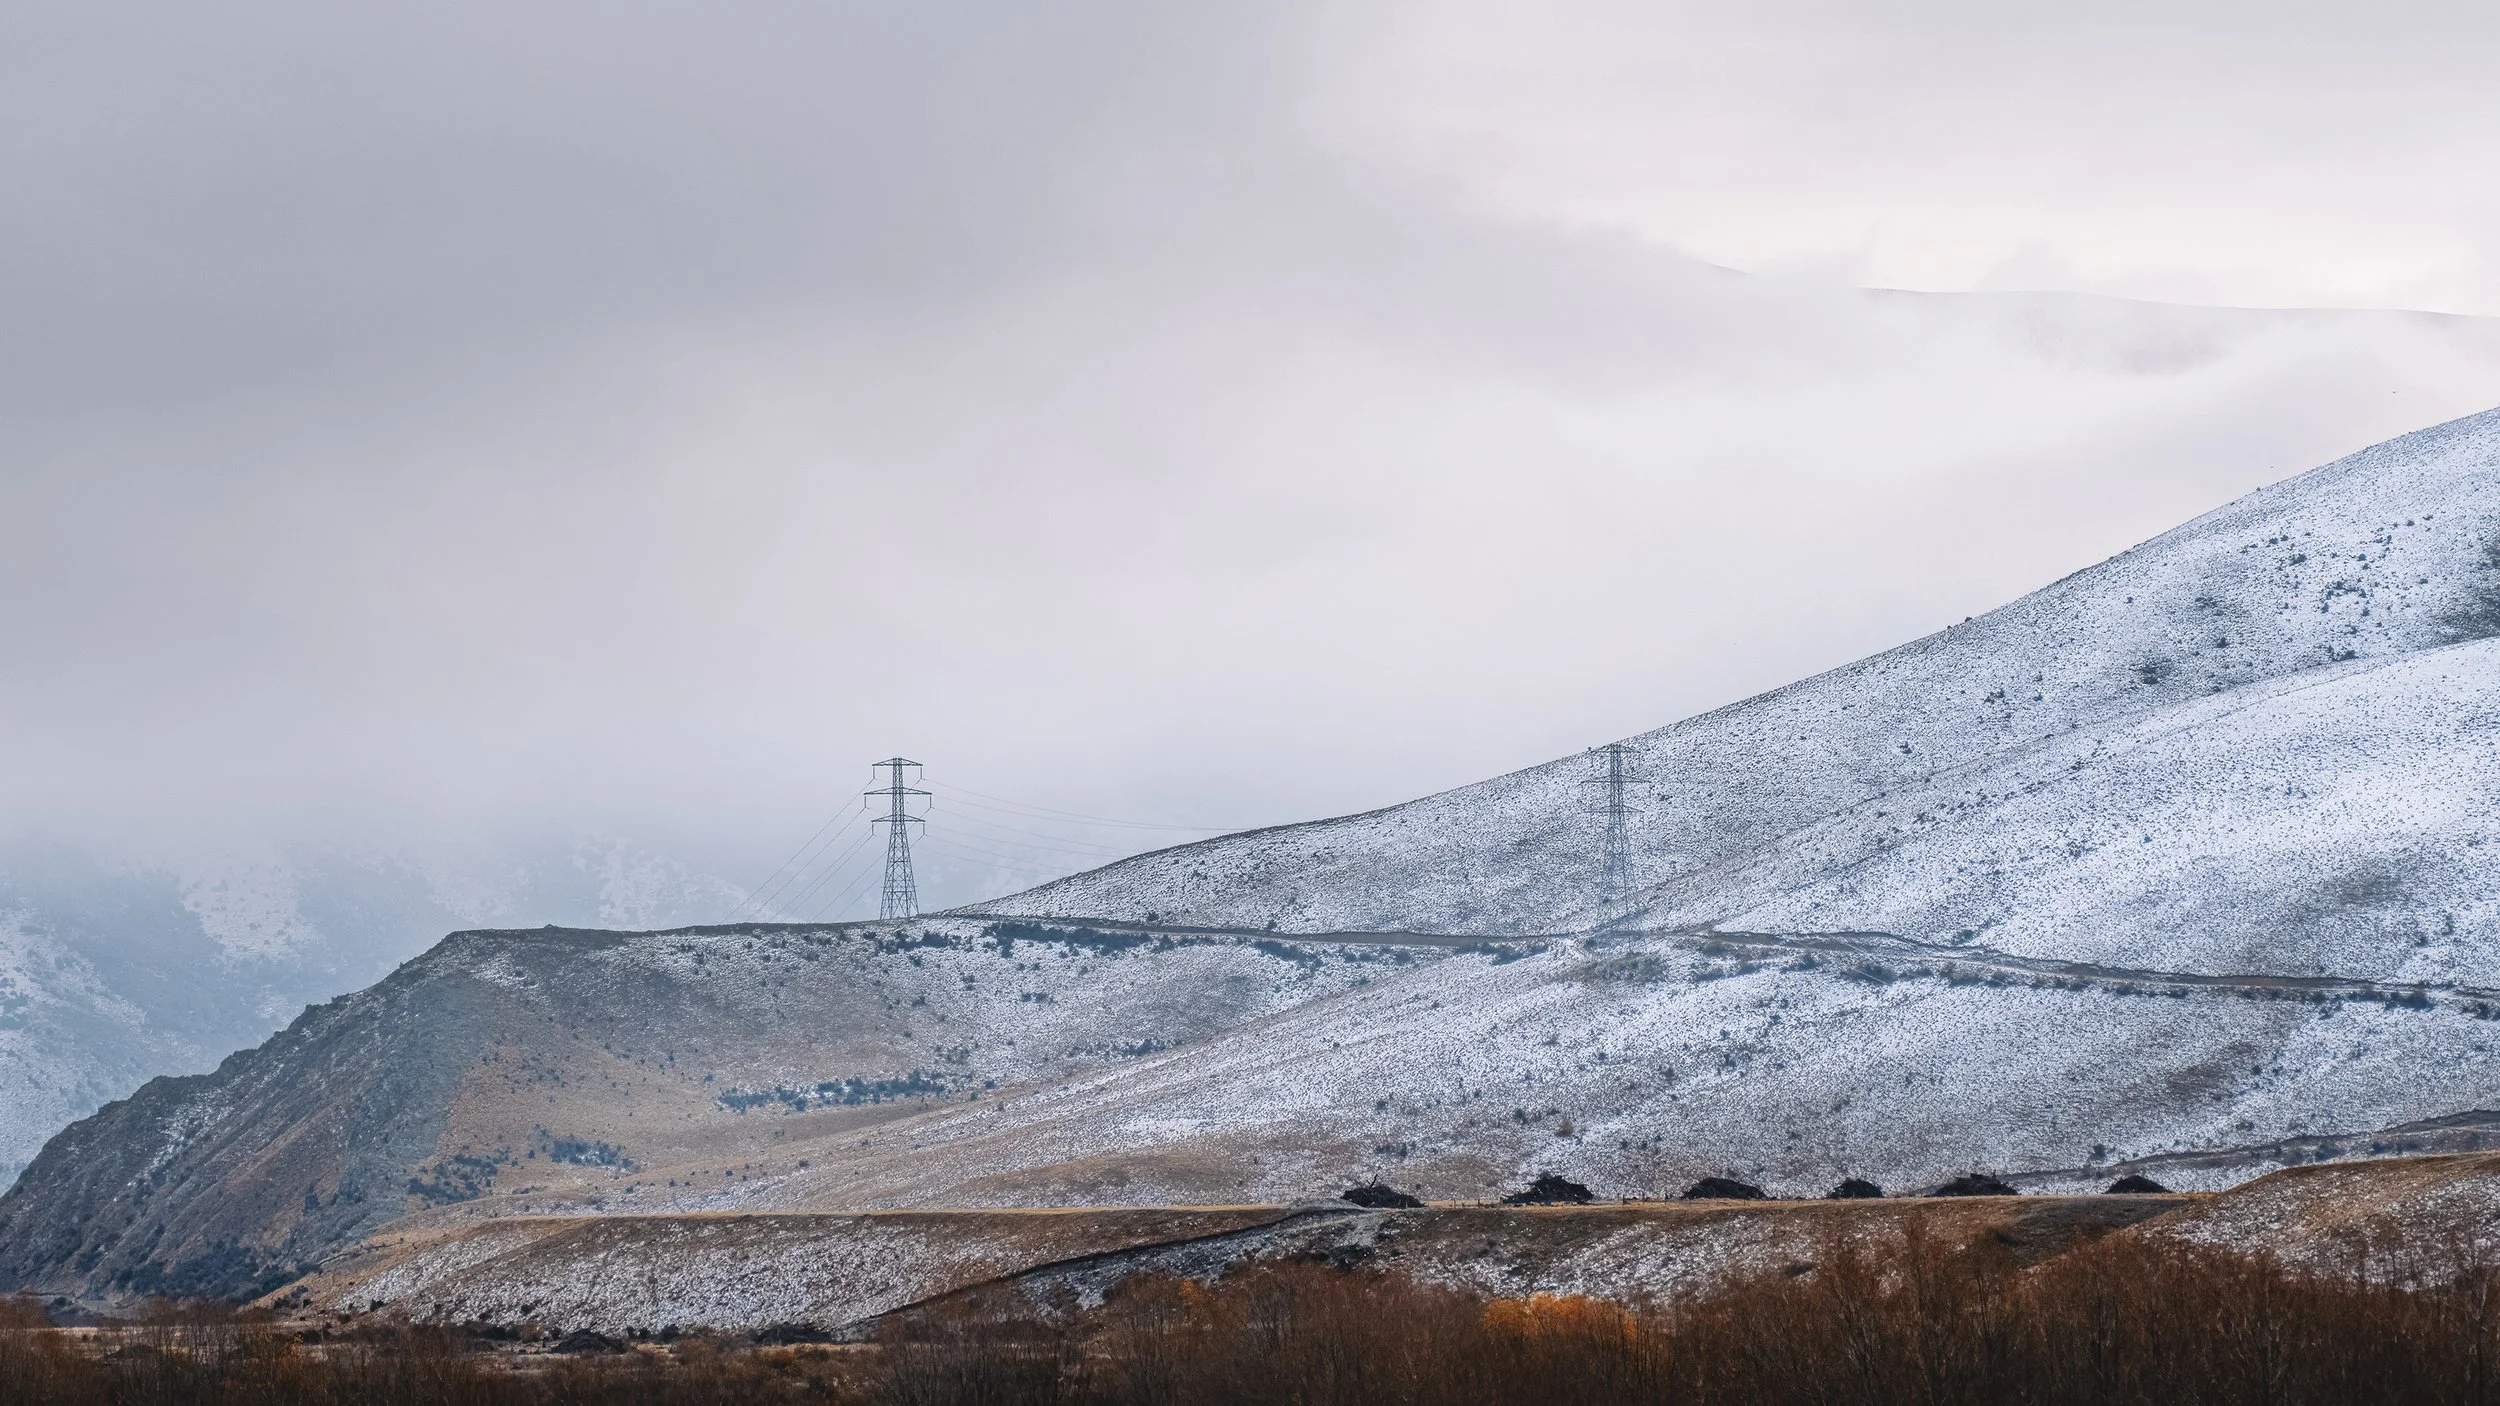
South Western Australia
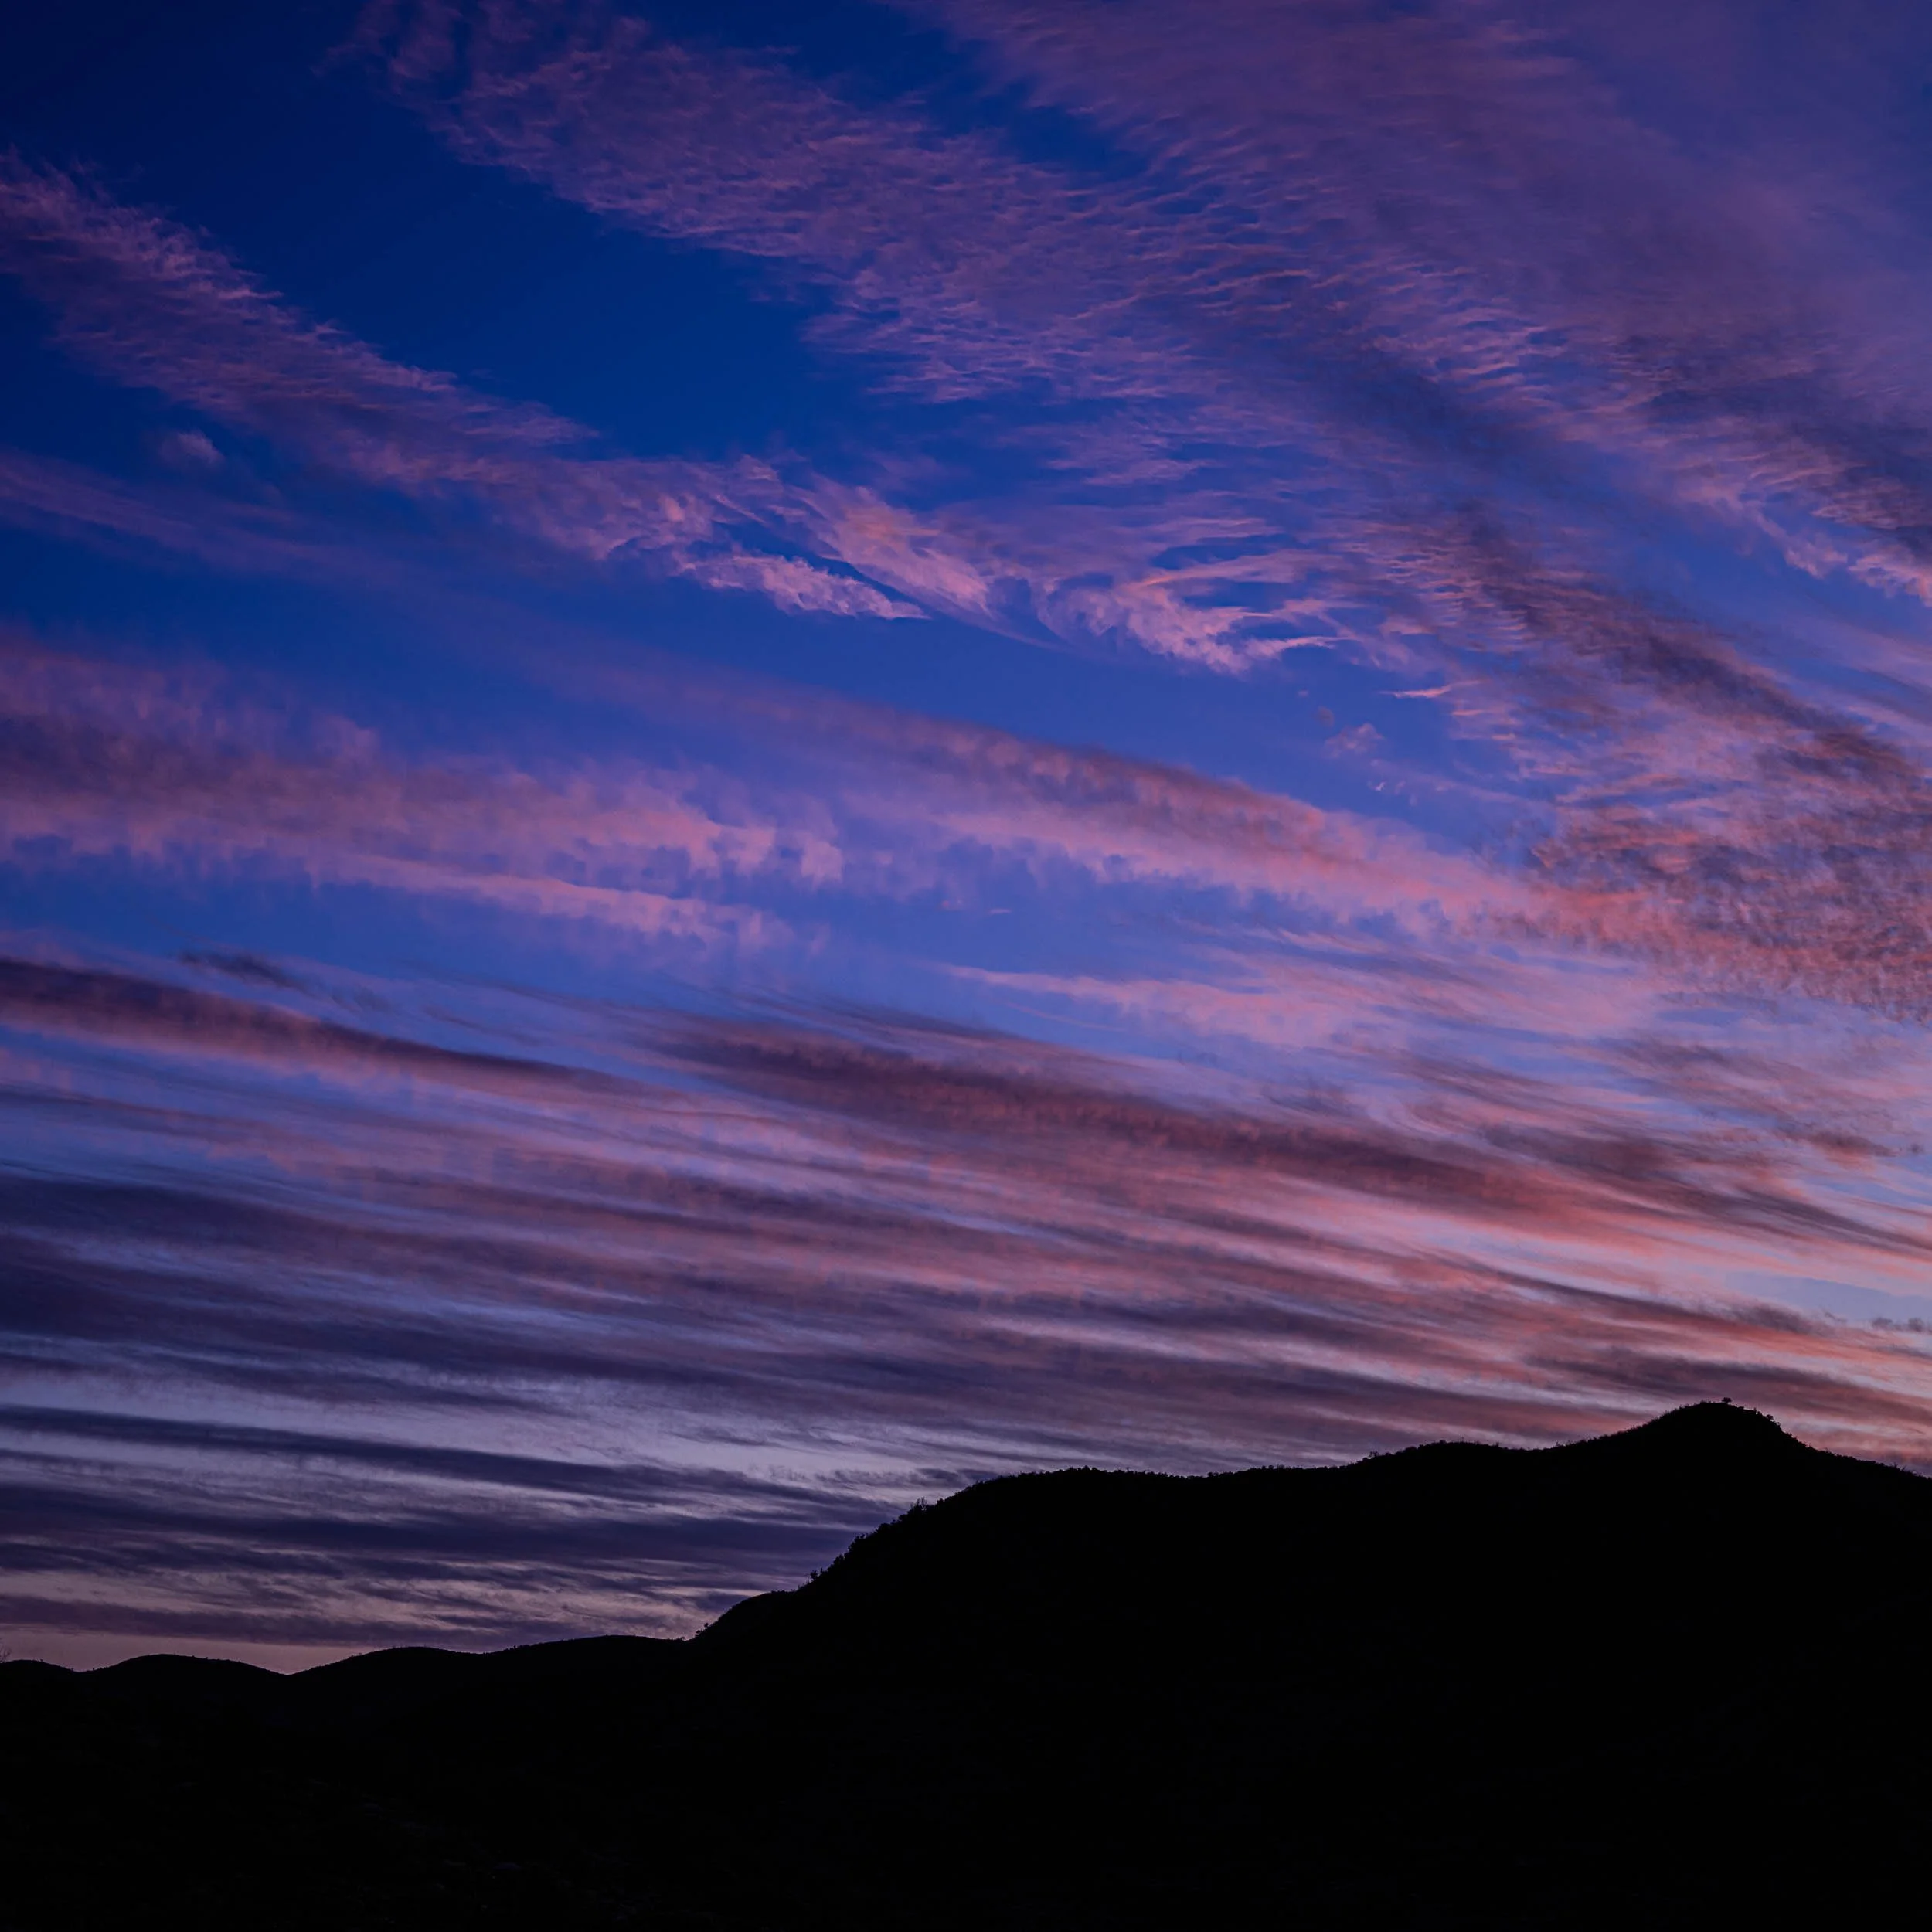
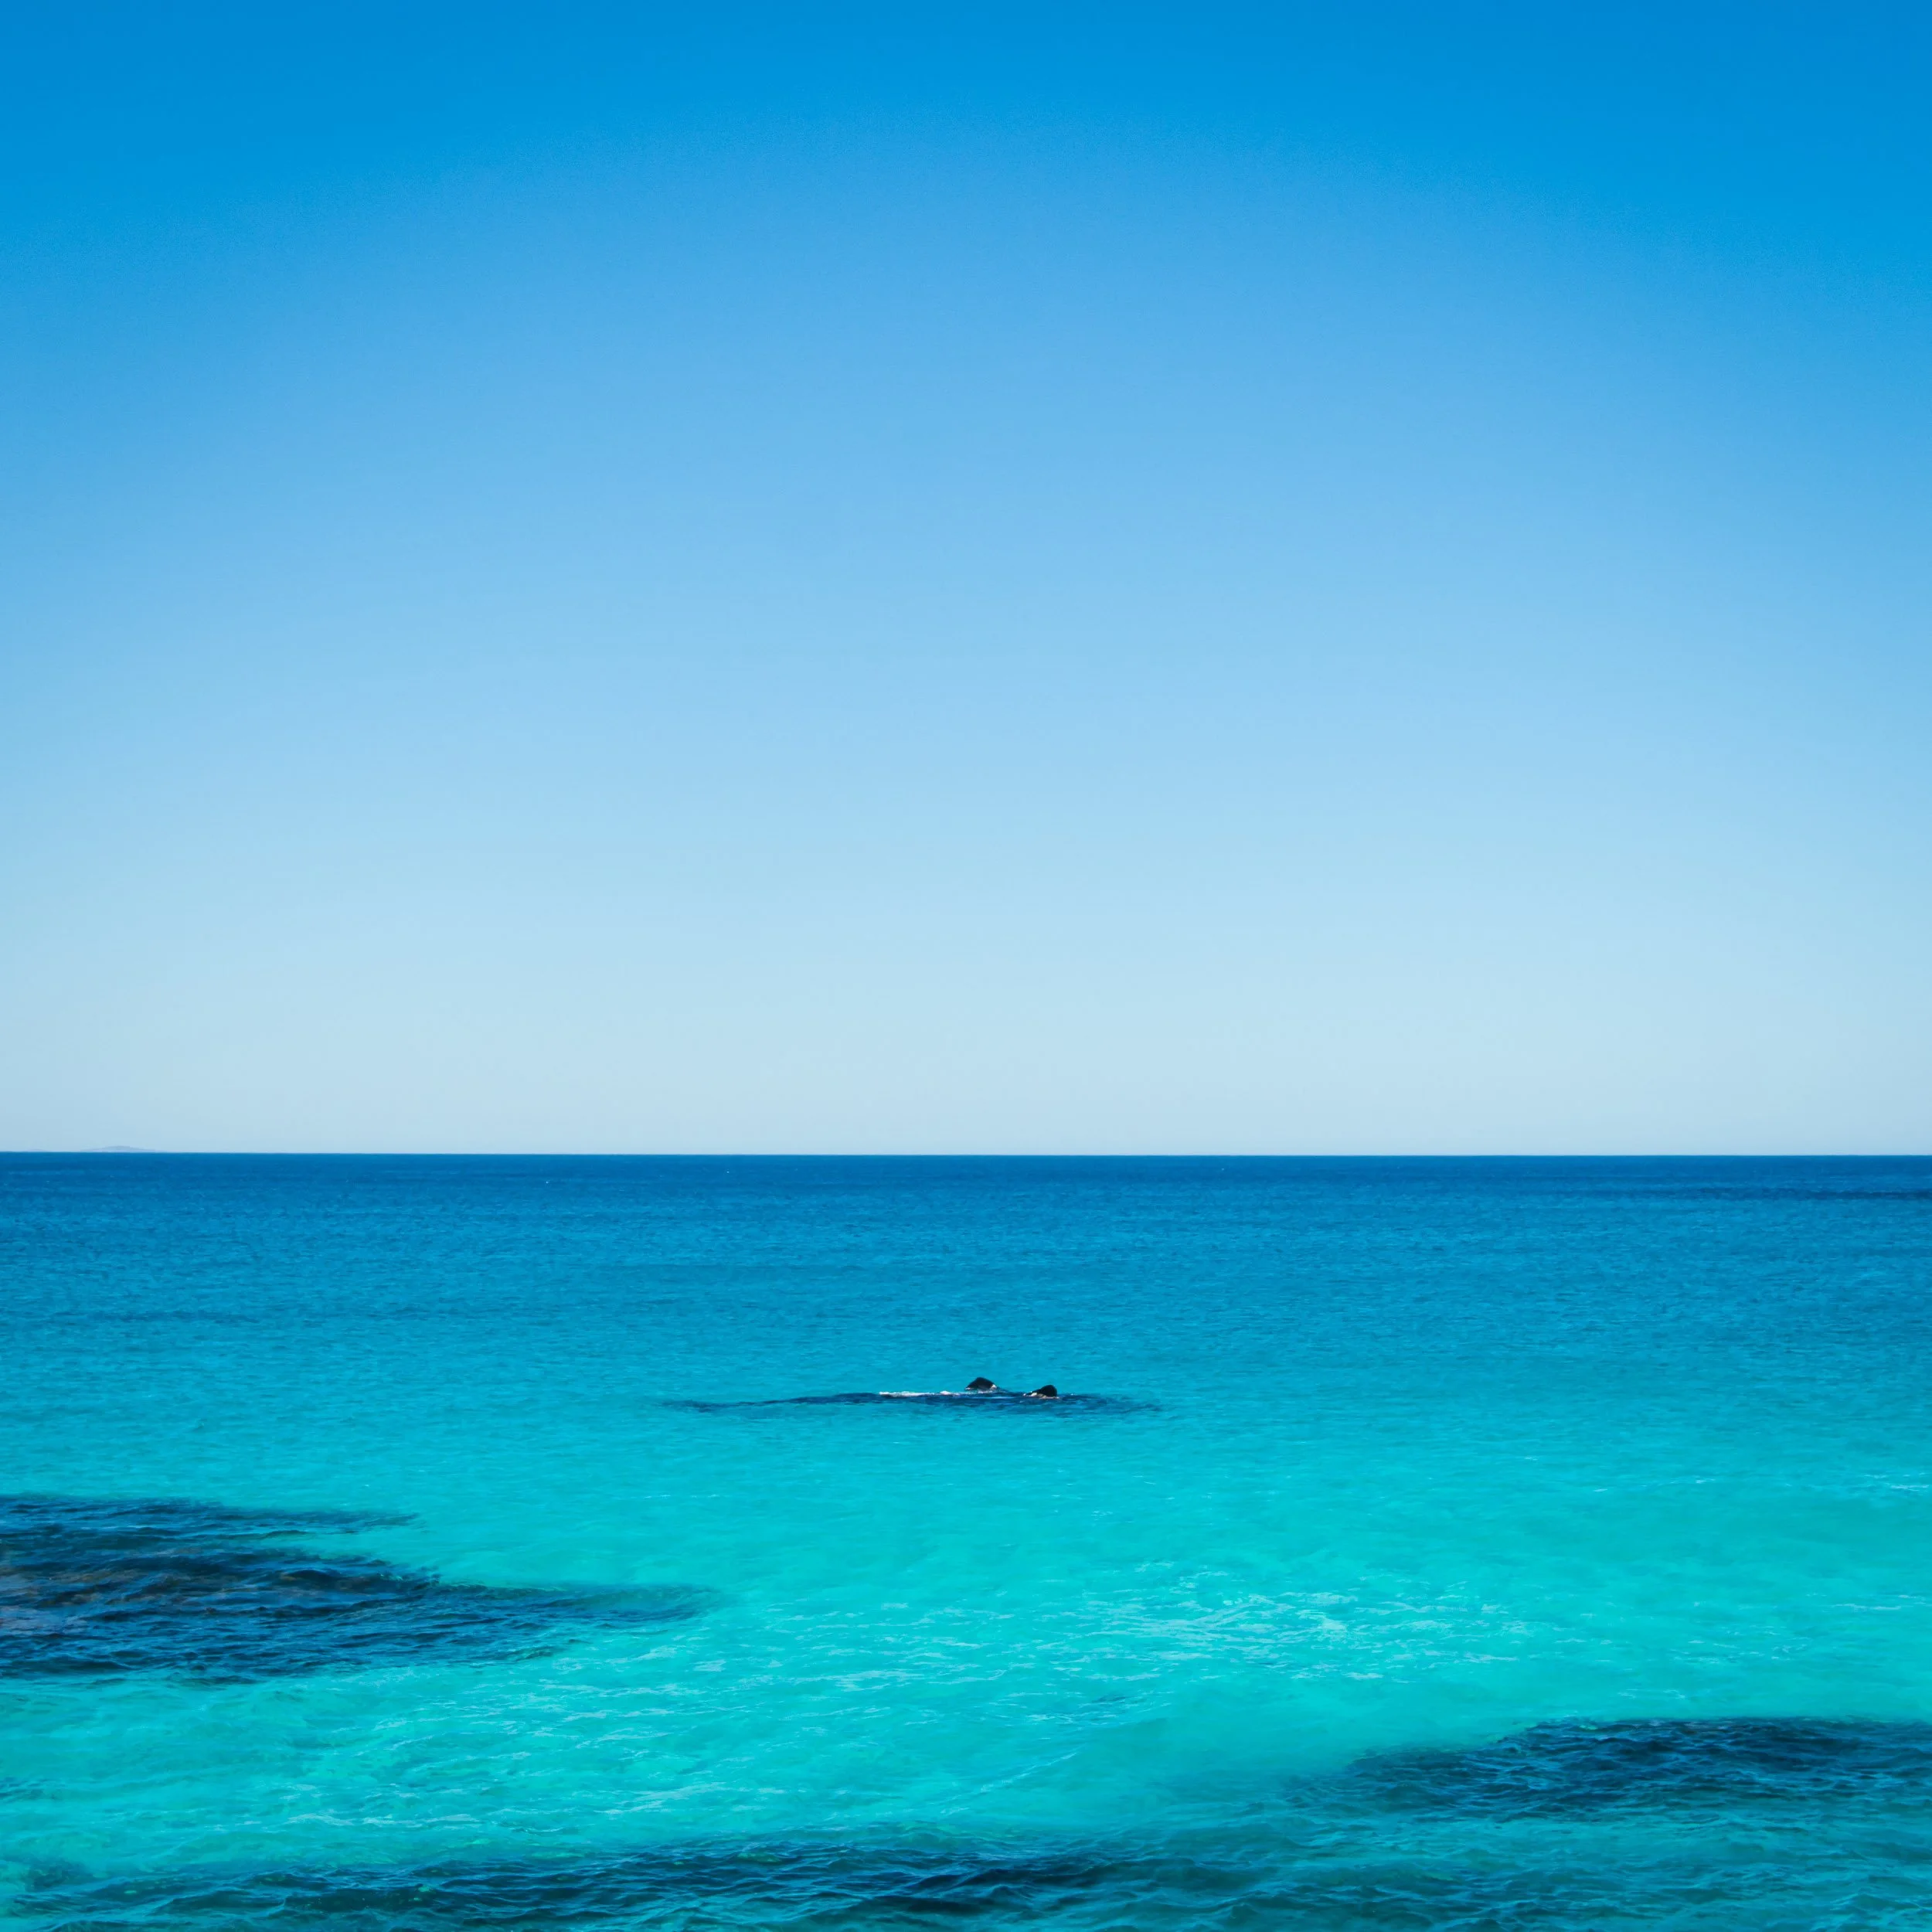
Join Len in Western Australia…. September 2026…. Here are some beautiful colour images to tempt and tease you…
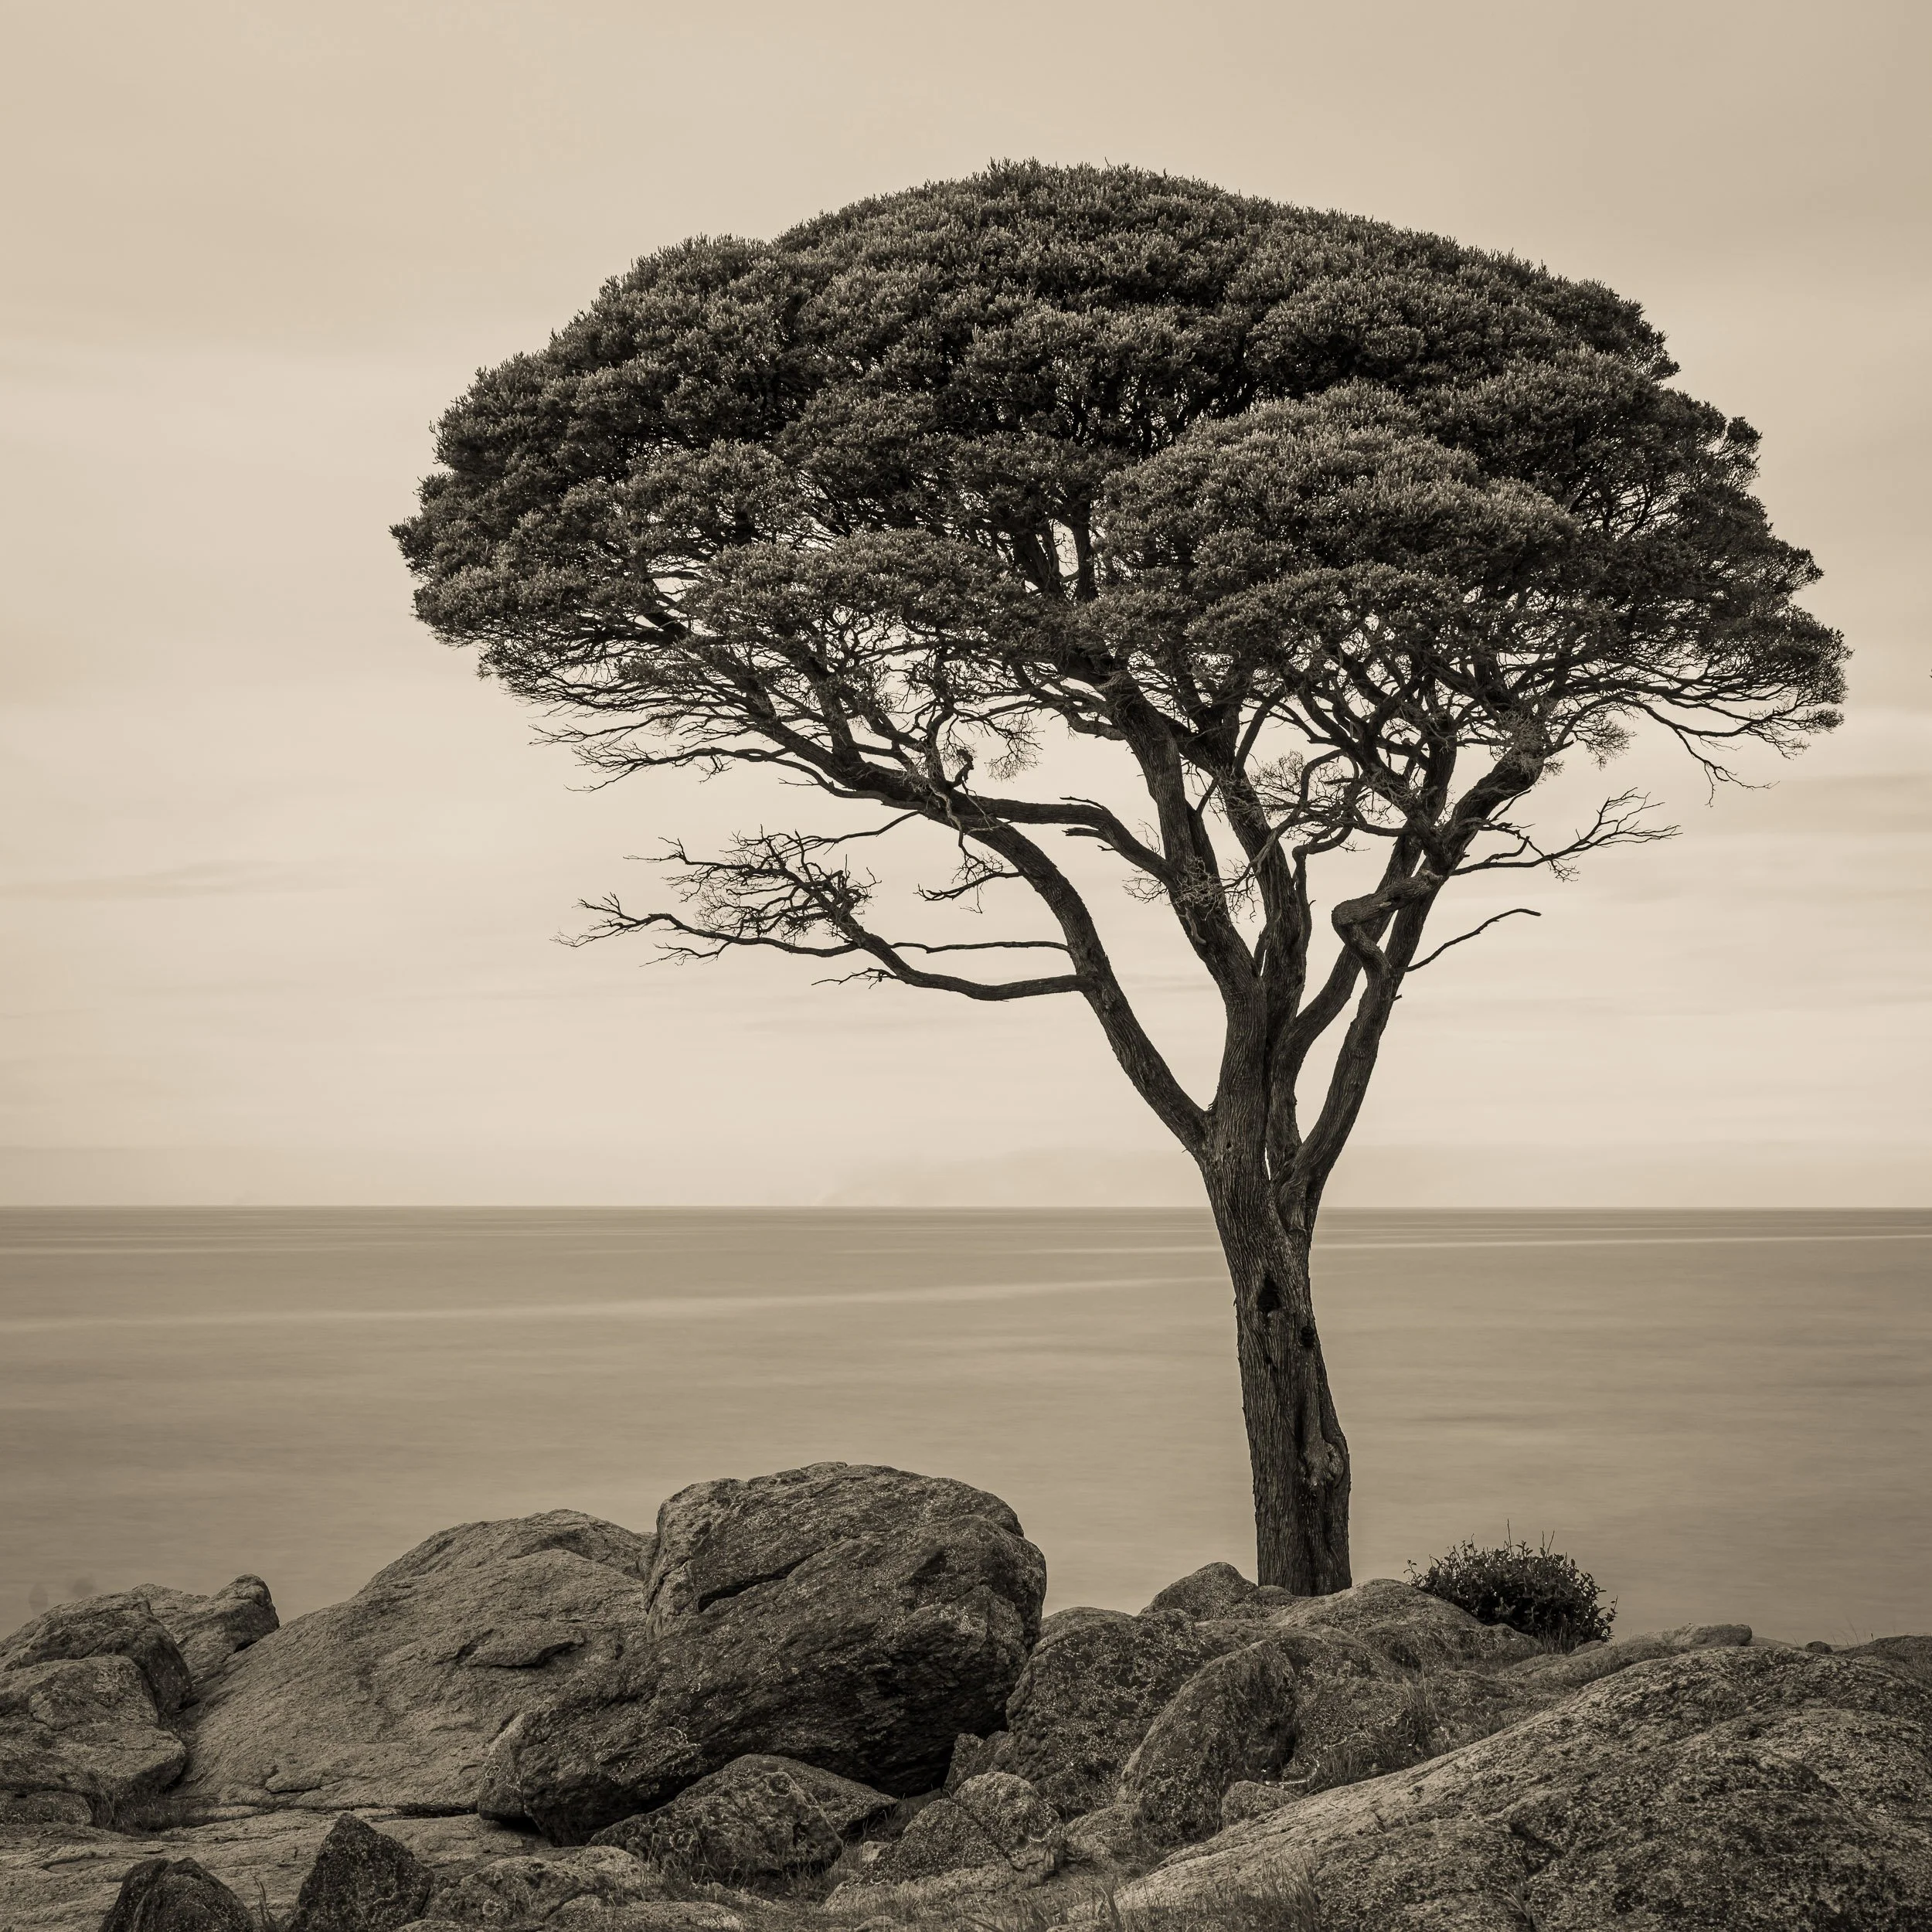
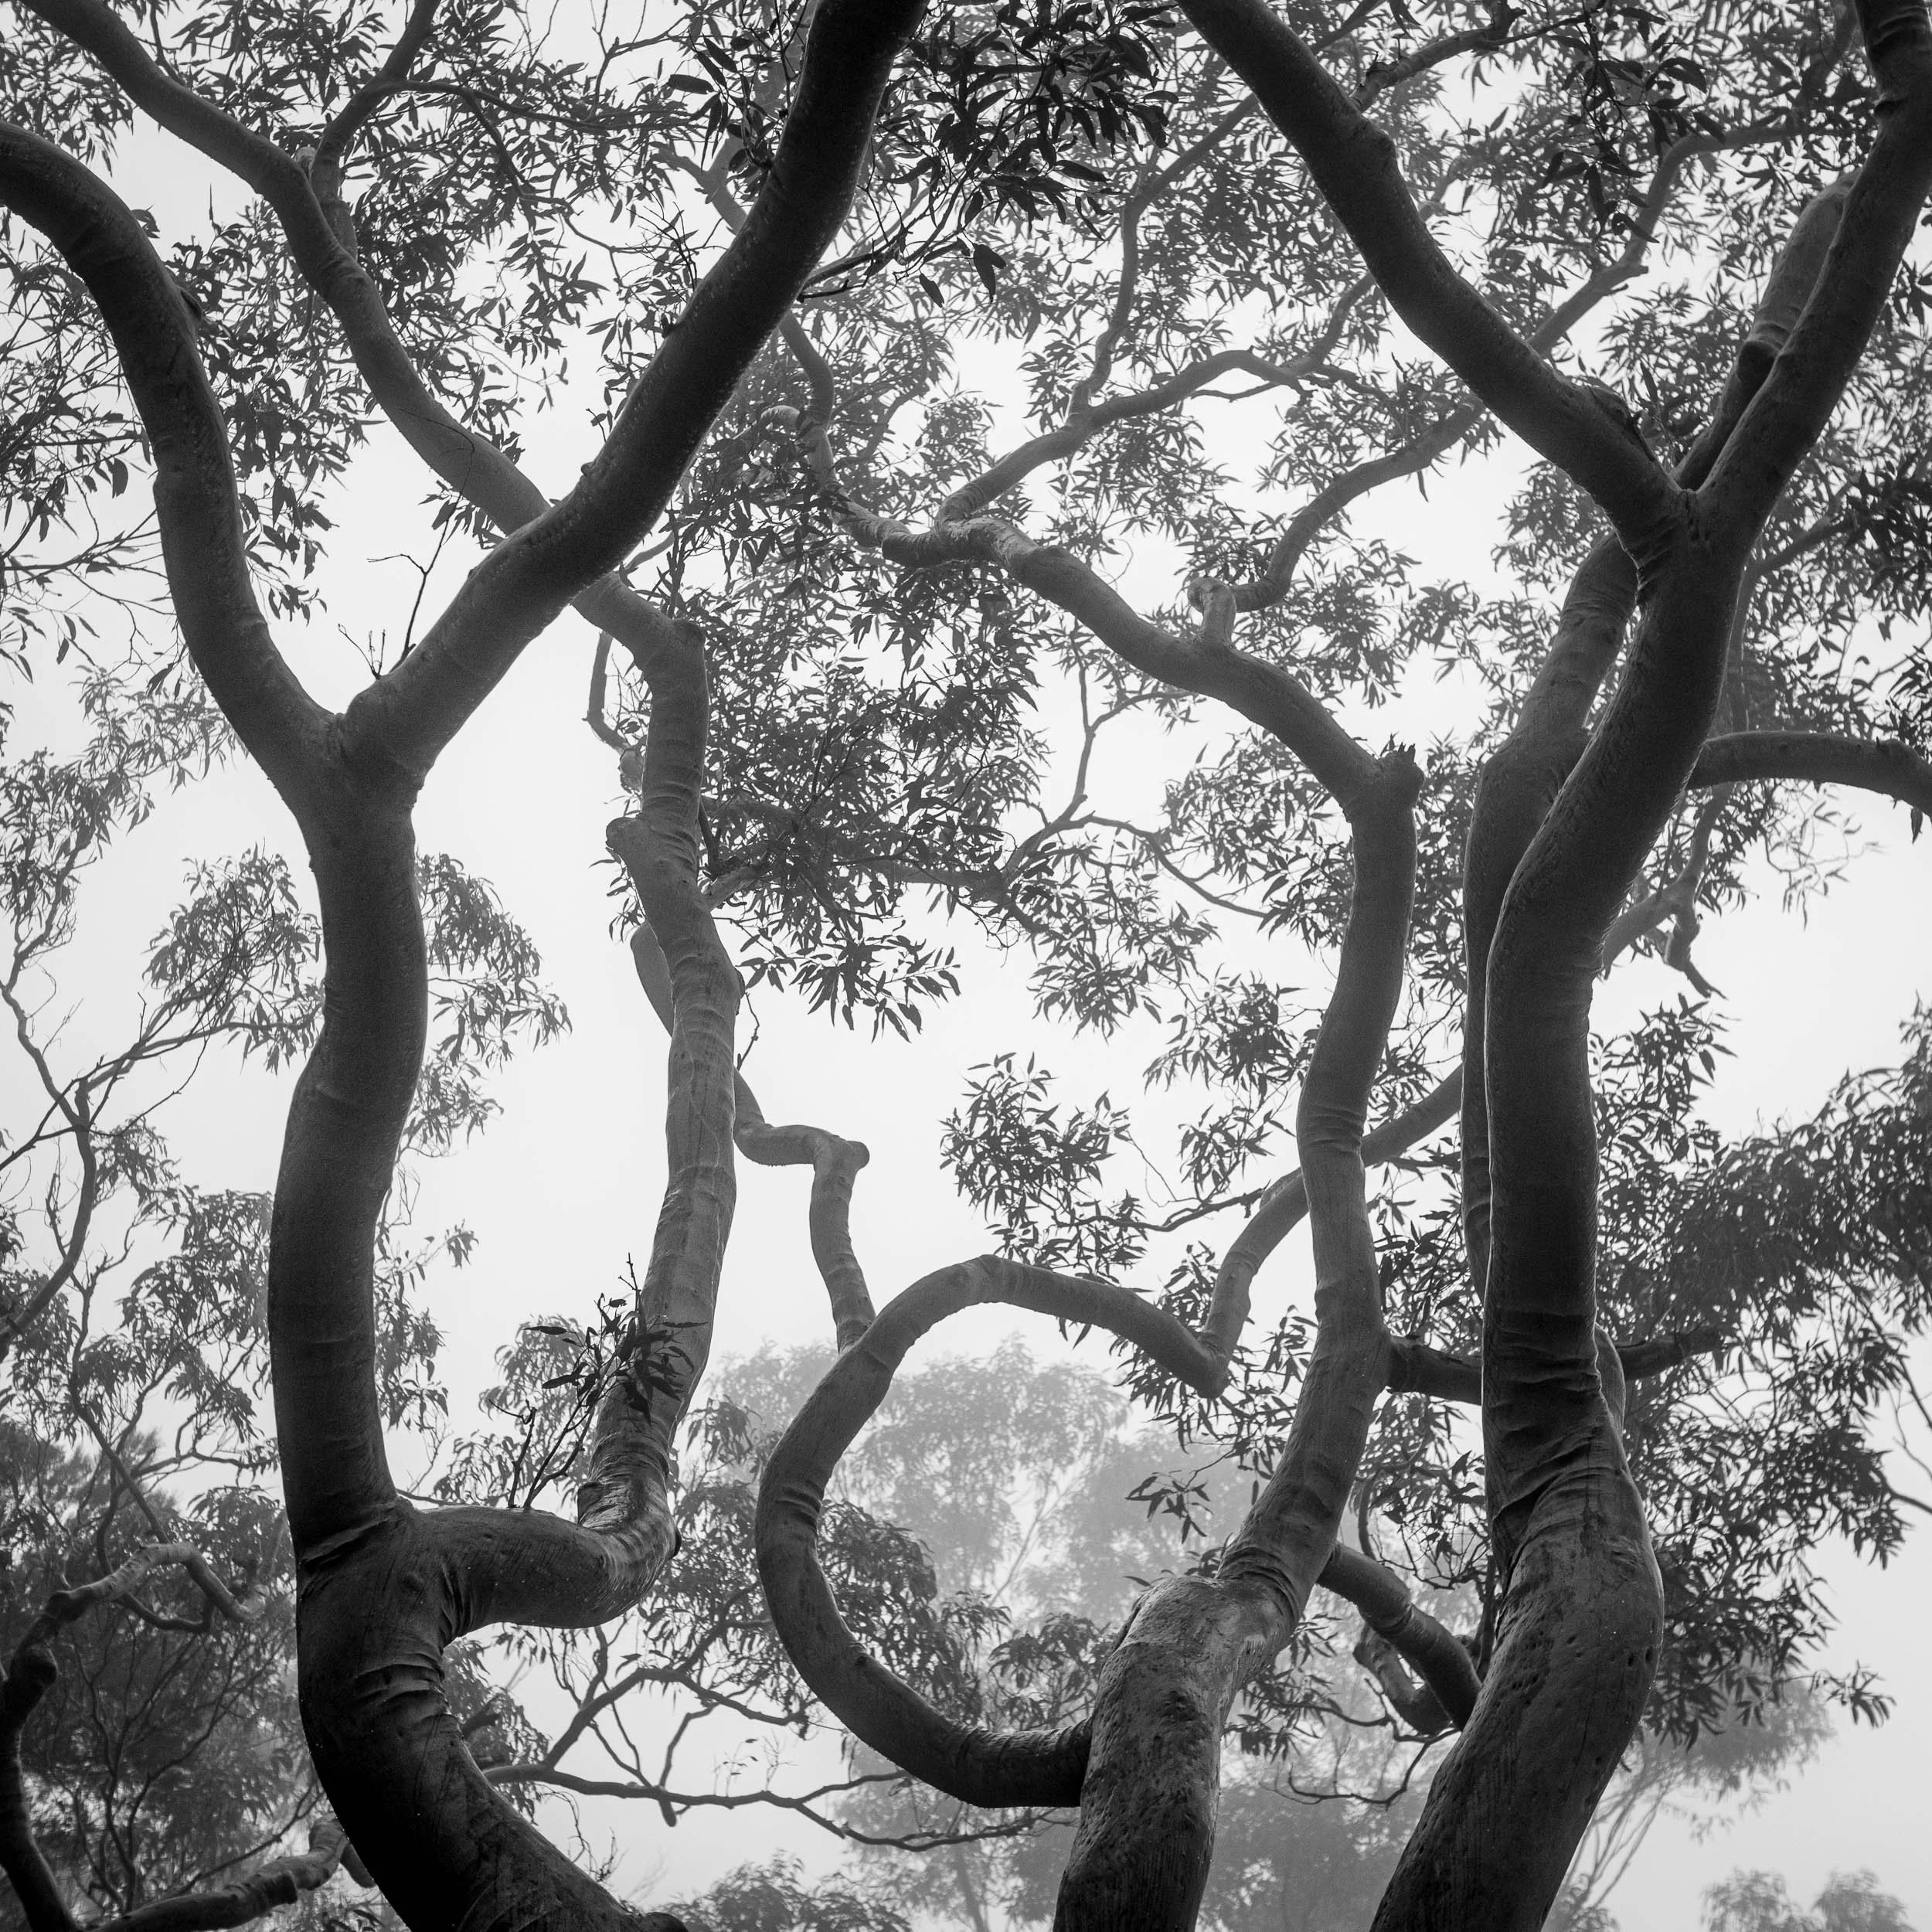
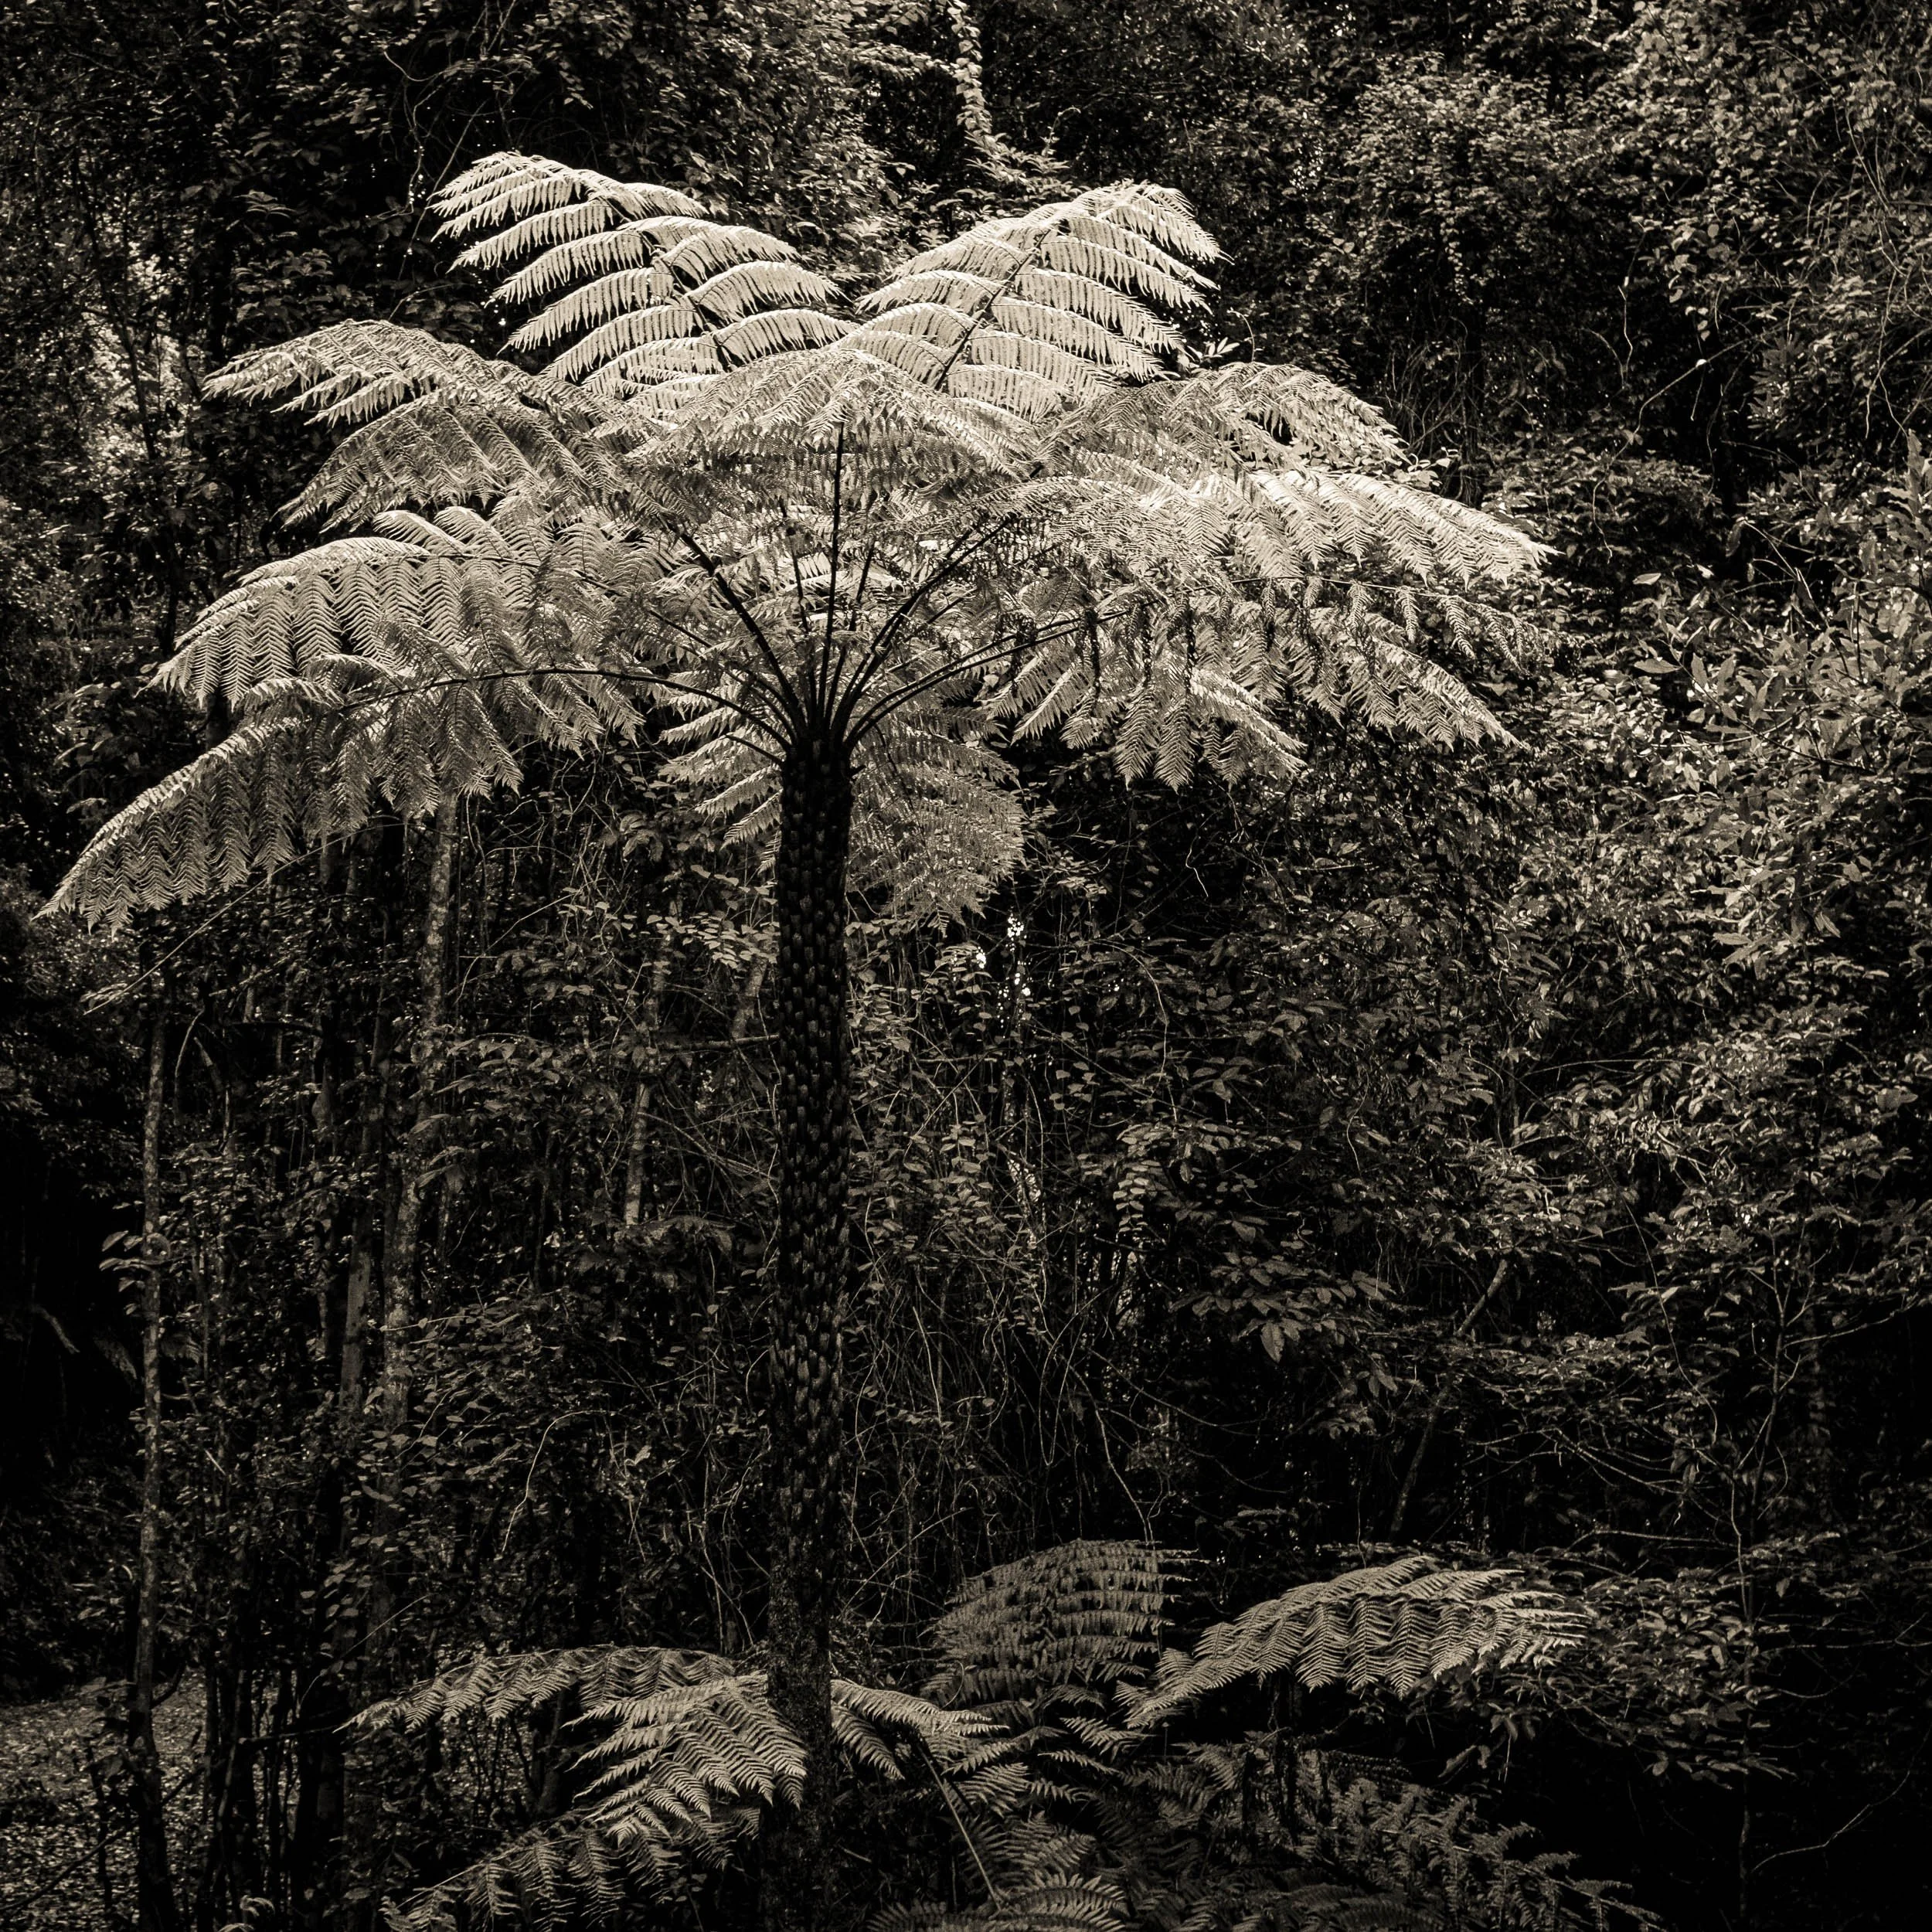
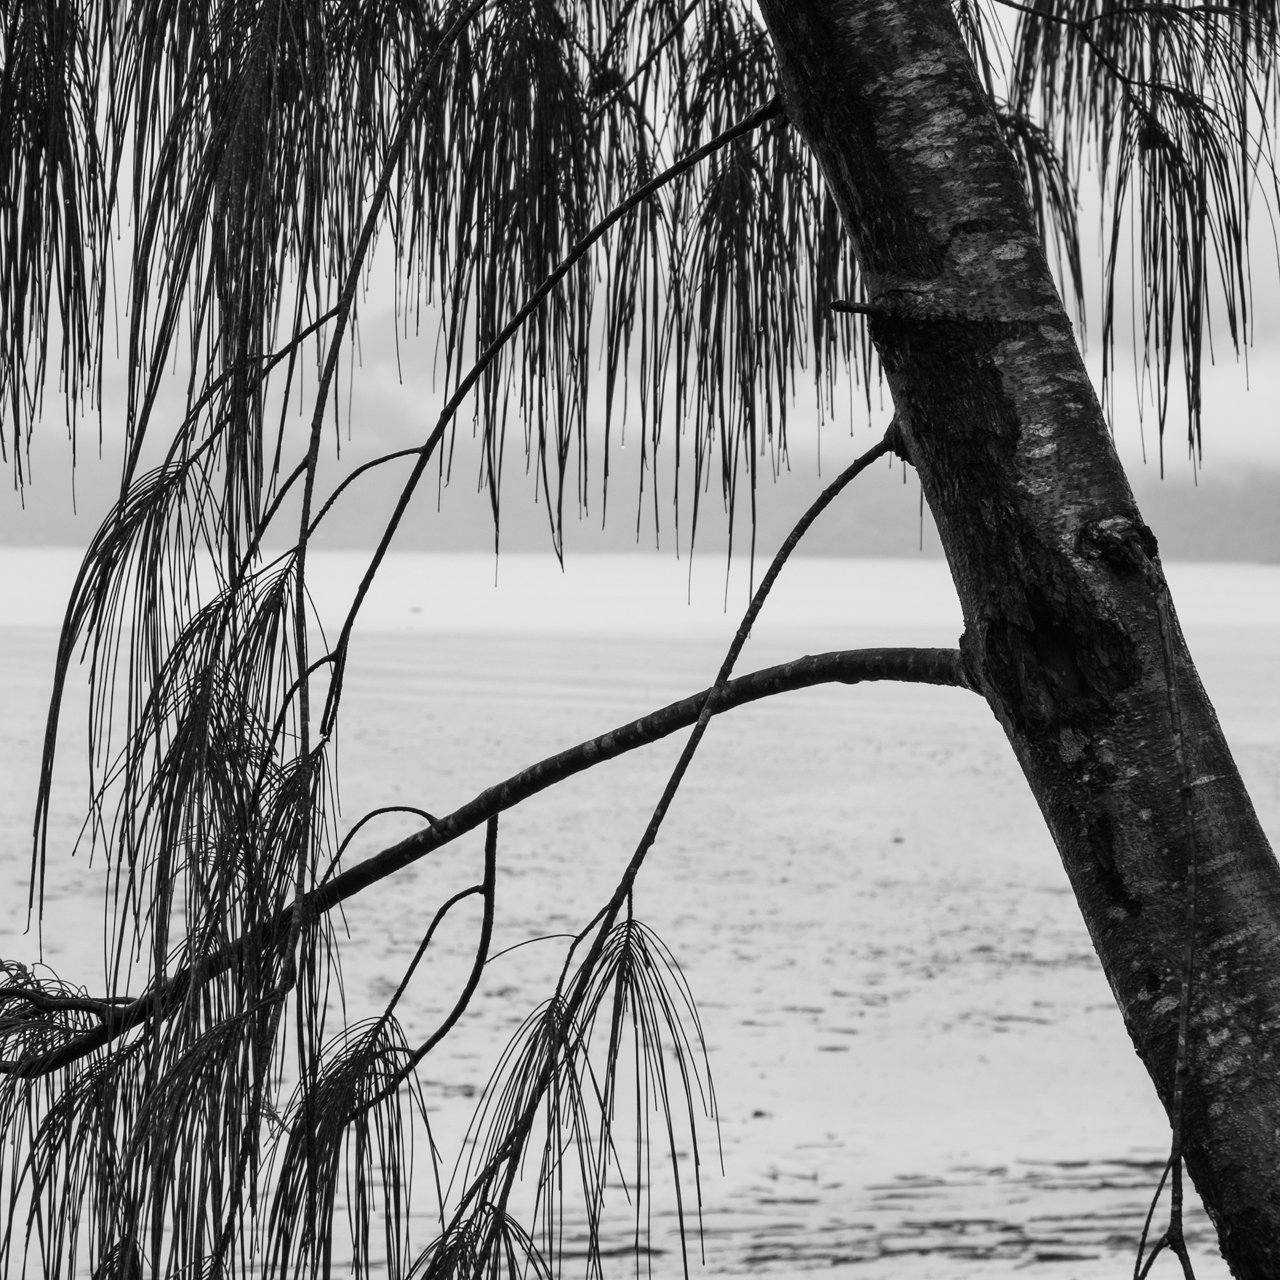
a couple of trees from Western Australia too…
some trees from Western Australia
whats on…
A bit of an update post…
Gibraltar-Washpool World Heritage walk review
Len writes a walking review of The Gibraltar - Washpool World Heritage Walk, after completing it in April 2026

Len’s Journal - volume 6 issue 2
up and coming
ron evans
ian everett
graeme masterman