
Join Len’s newsletter for stories from the studio, creative insights, and behind-the-scenes looks at new artworks, workshops and upcoming projects. Be the first to hear about exhibitions, special offers, and opportunities to create with Len. Delivered straight to your inbox — thoughtful, inspiring, and never spammy.
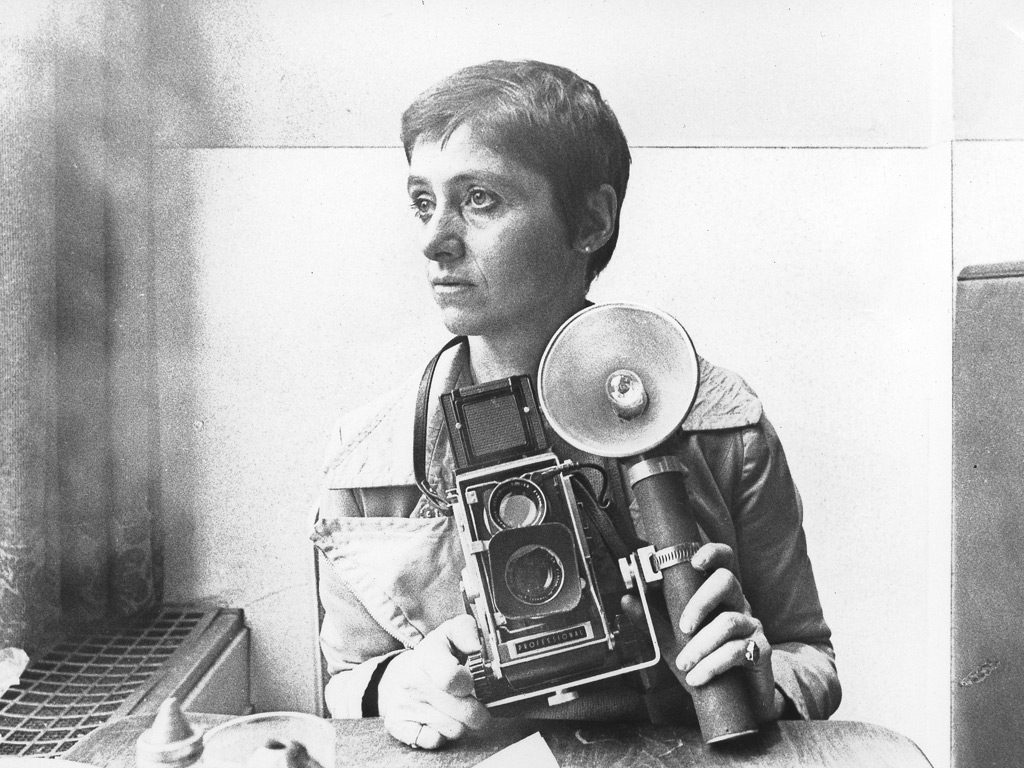
Diane Arbus
Diane Arbus is interesting to study as she was a master of putting herself into her portraits...

getting to know your camera
The original post about camera cuddle. This has also been written up as a weekly exercise.

Photographic workflow
Len discusses his photographic work flow, from capture all the way through to print...